
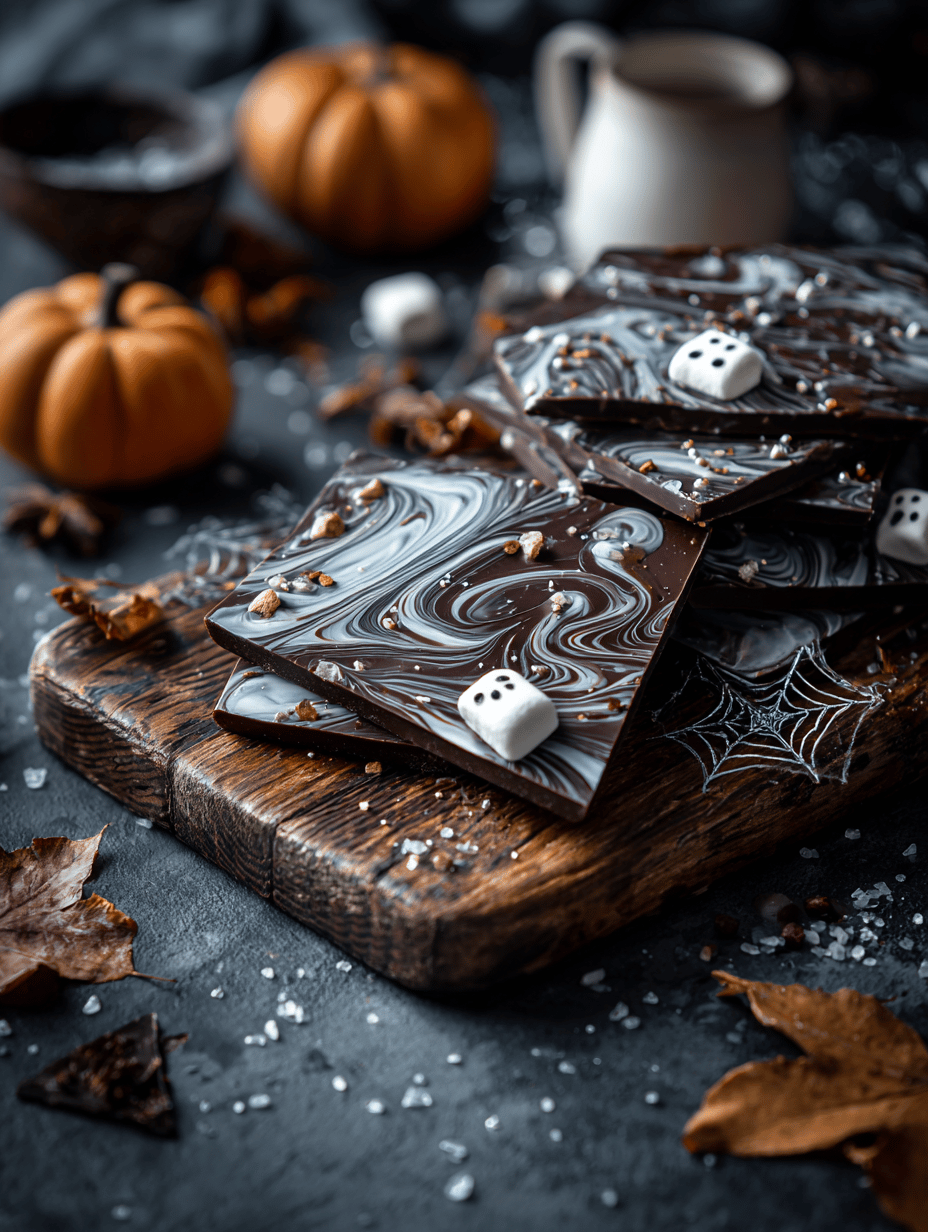
This Halloween bark is my seasonal rebellion. It’s a little messy, a little elegant, and totally adaptable to whatever spooky ingredients you have on hand. I love how it combines the creamy sweetness of white chocolate with unexpected crunch and spice, making it perfect for sharing or hoarding.
Every year, I try to outdo my last batch, adding new toppings or adjusting the spice balance. It’s a fun, forgiving project that makes the kitchen smell like a candy shop mixed with a pinch of chaos. Plus, it’s quick enough to whip up on a whim, but fancy enough to serve as a treat that feels special.
Why This Halloween Bark Keeps Calling Me Back
It’s unpredictable—each batch turns out slightly different, keeping me guessing. The mix of sweet, spicy, and salty captures the chaos of the season. Plus, it’s a quick project that feels like a little victory, especially when everyone oohs over the first taste.
What’s Really in That Spooky Goodness
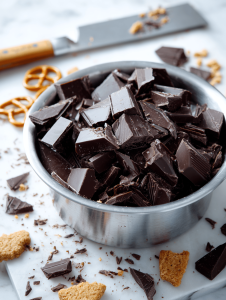
- White chocolate: Sweet, creamy, melts into a smooth layer. Swap with milk chocolate for a milder touch.
- Crushed pretzels: Salty crunch that balances sweetness. Use gluten-free pretzels if needed.
- Dried cranberries: Tart, chewy bursts—look for shiny, plump ones. Swap with chopped dried cherries for a different zing.
- Candied ginger: Spicy, fiery bits that surprise with every bite. Fresh ginger, finely chopped, works too.
- Toppings (optional): Eyes, spiders, sprinkles—whatever makes your spooky scene pop.
Tools of the Spooky Trade
- Double boiler or microwave: To melt the chocolate gently without burning.
- Spatula: To spread the melted chocolate evenly.
- Baking sheet with parchment or silicone mat: To hold the bark while it sets.
- Knife or broken pieces for shattering: To break the hardened bark into jagged shards.
Step-by-step to a Wickedly Good Halloween Bark
Step 1: Line a baking sheet with parchment paper or a silicone mat.
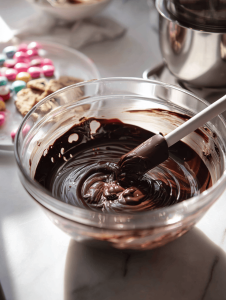
Step 2: Melt 200g of white chocolate in a double boiler or microwave, stirring until smooth.
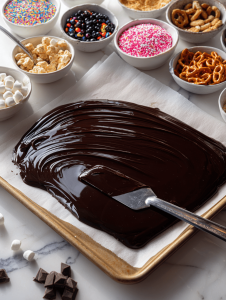
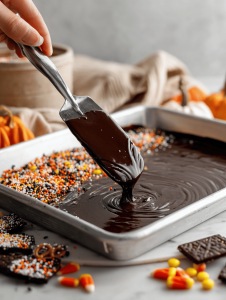
Step 3: Pour the melted chocolate onto the prepared sheet, spreading evenly with a spatula.
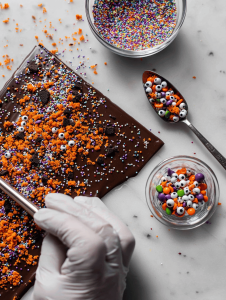
Step 4: Sprinkle a mix of crushed pretzels, chopped dried cranberries, and candied ginger over the chocolate.
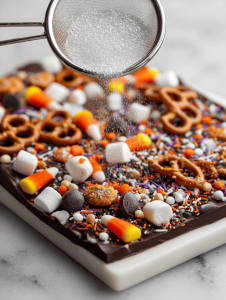
Step 5: Gently press the toppings into the chocolate to adhere.
Step 6: Place the tray in the fridge for about 30 minutes until the chocolate is set.
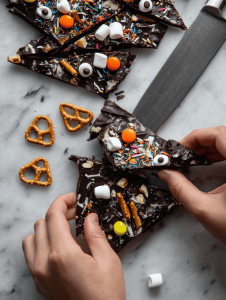
Step 7: Break the hardened chocolate into shards, creating jagged, spooky shapes.
Creepily Perfect: Tips and Tricks for Halloween Bark
- Ensure chocolate is fully melted and smooth before pouring for an even surface.
- Don’t overload toppings; too much can make the bark crumbly or sticky.
- Chill the bark thoroughly to prevent smudges or cracks when breaking.
- Watch out for burning or over-torching the chocolate — smell it, and remove from heat if it smells smoky.
Avoiding Common Halloween Bark Fails
- Overheating the chocolate, causing it to become grainy or seize.? Use low heat and stir constantly to prevent chocolate from seizing or burning.
- Overloading toppings, leading to uneven setting or sticky patches.? Sprinkle toppings lightly to ensure they stick without overwhelming the surface.
- Breaking it while warm, which causes jagged, uneven shards.? Chill the bark thoroughly before breaking.
- Drowning the chocolate in microwave or over direct heat, leading to smoky smell.? Keep an eye on the chocolate while melting to prevent burning.
Halloween Bark
Ingredients
Equipment
Method
- Line your baking sheet with parchment paper or a silicone mat to prepare for pouring the melted chocolate.
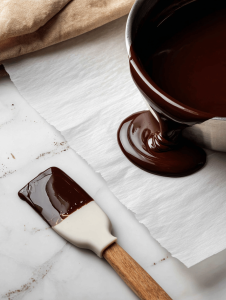
- Gently melt the white chocolate using a double boiler or microwave, heating in short bursts and stirring until smooth and glossy. Smell for a sweet aroma and watch for a silky consistency.
- Pour the melted white chocolate onto the prepared sheet, then spread it out evenly with a spatula to form a smooth, thin layer. The chocolate should look shiny and spreadable.
- Sprinkle the crushed pretzels, dried cranberries, and chopped candied ginger evenly over the surface of the chocolate. Aim for a balanced distribution to ensure each bite has a mix of textures and flavors.
- Gently press the toppings into the chocolate with your fingers or the back of a spoon to help them adhere and embed into the surface.
- Place the baking sheet in the fridge for about 30 minutes, or until the chocolate is completely set and firm to the touch. You'll hear a satisfying crack when tapping the surface.
- Once chilled, remove the sheet from the fridge and break the hardened chocolate into jagged shards with your hands or a knife, creating spooky, irregular shapes.
- Enjoy your festive Halloween bark immediately, or store in an airtight container in the fridge for up to a week for a spooky sweet treat anytime!
Notes

Founded by Rachel Morgan, a proud home cook and foodie from Austin, Texas, this blog is all about transforming everyday meals into moments of joy.