Turkey Burger Patties Recipe
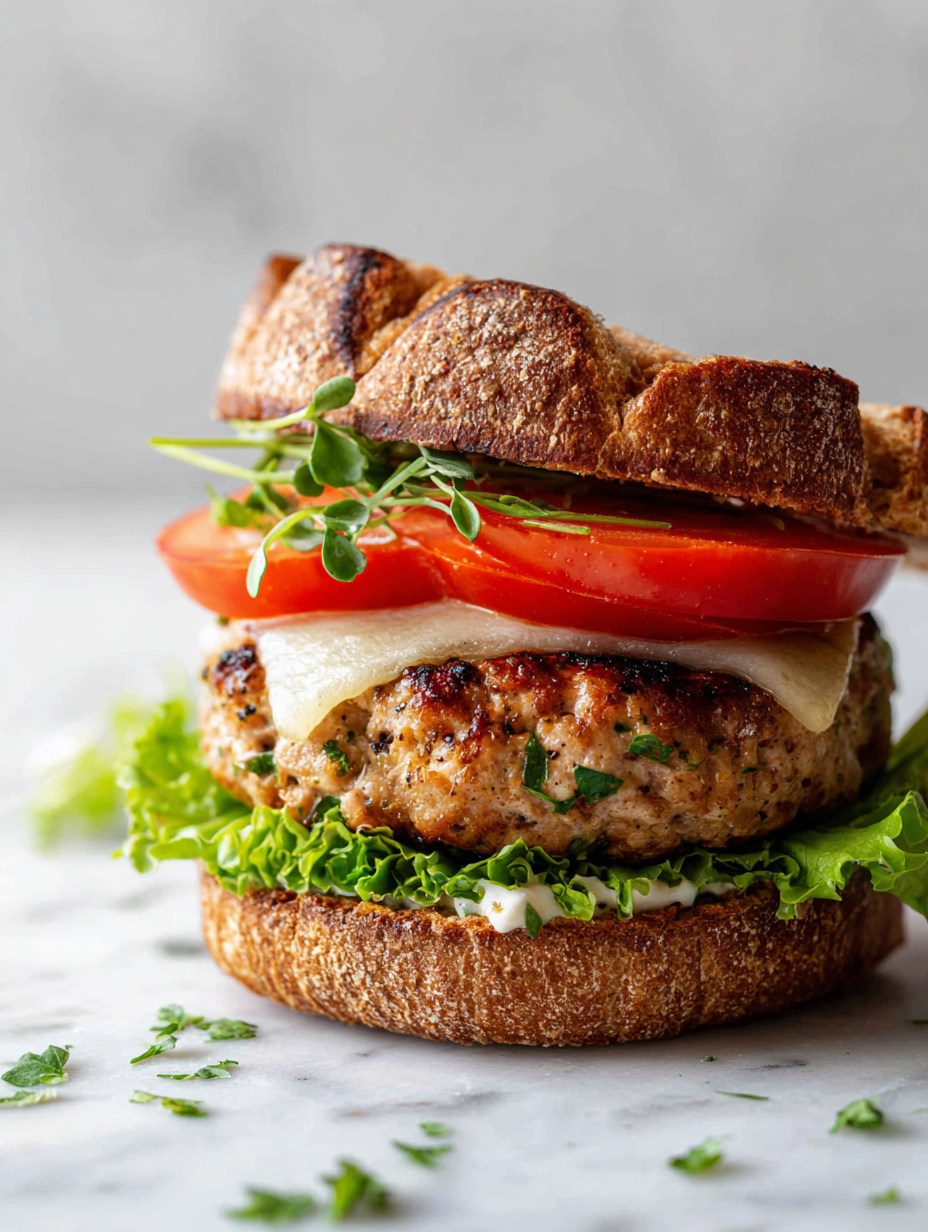
When I first started making turkey burgers, I was frustrated by how quickly they dried out or lost their flavor. It took some experimenting, but I found that certain simple tweaks make all the difference—no fillers or fats needed, just honest techniques. This recipe is a real reminder that keeping lean meat juicy isn’t about … Read more