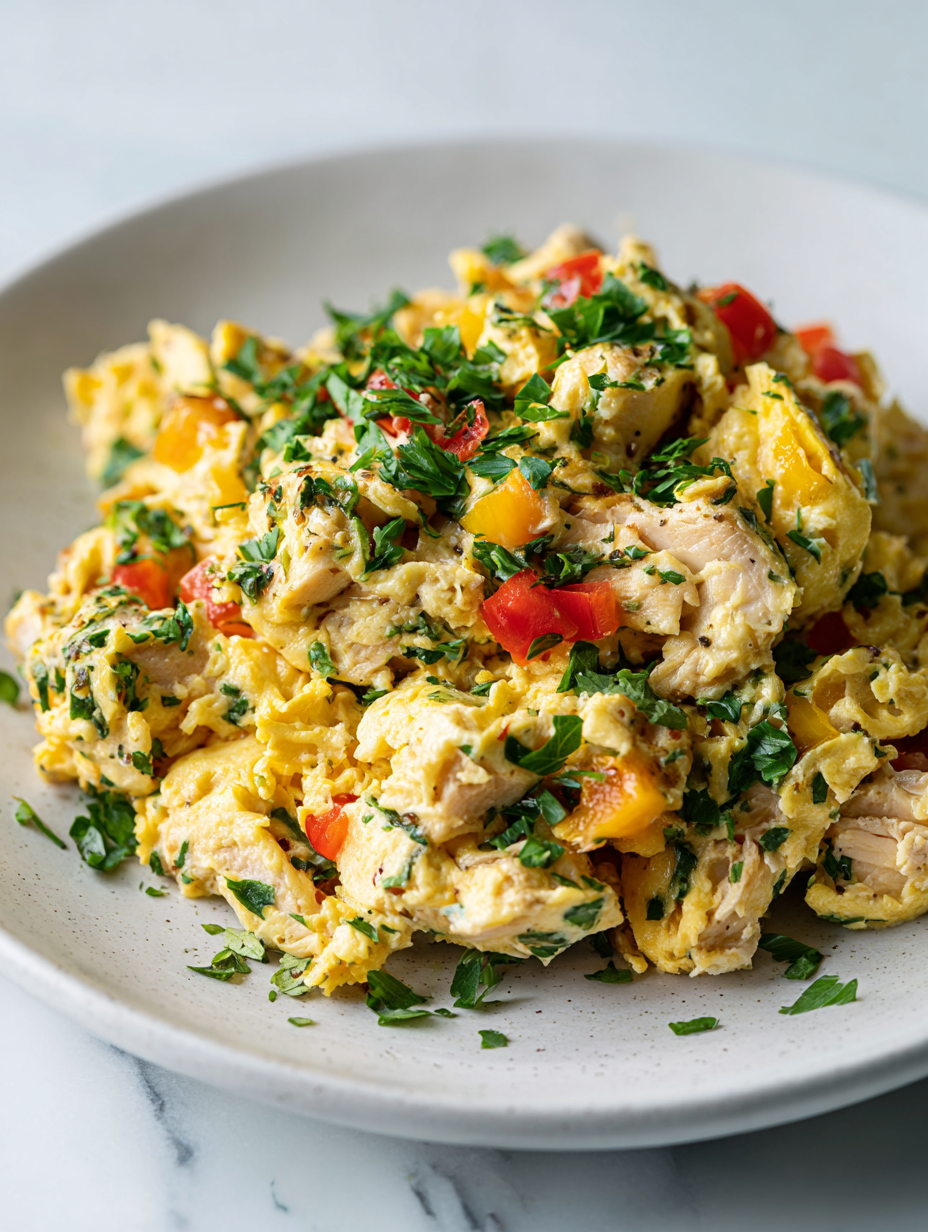
Smoked Salmon Eggs Recipe
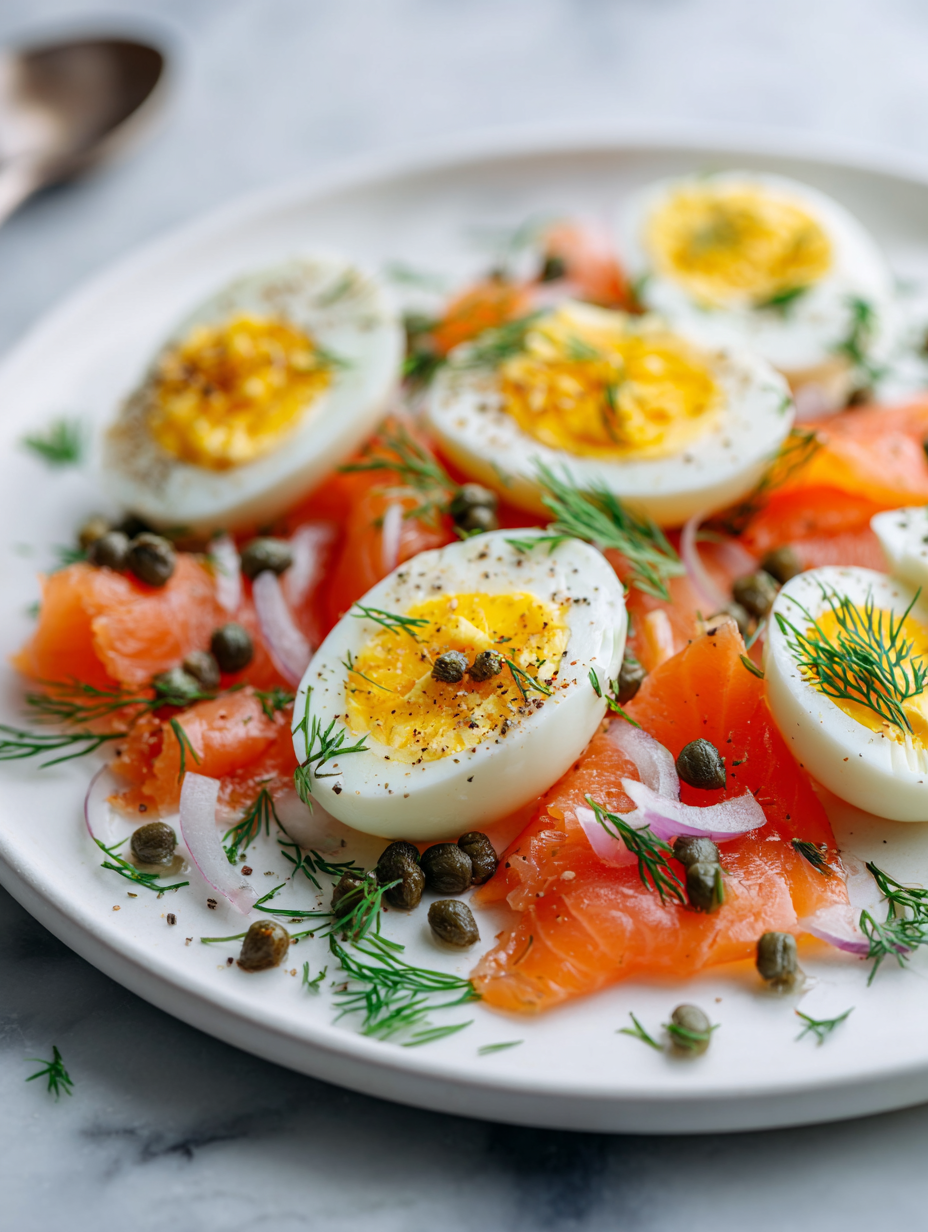
This smoked salmon eggs recipe is a little luxury I turn to when I want breakfast to feel special but still straightforward. The smoky depth of the salmon adds a richness that makes the eggs feel more indulgent, almost like a treat I shouldn’t indulge in on a weekday but do anyway. I love how … Read more