Shrimp Cocktail Recipe
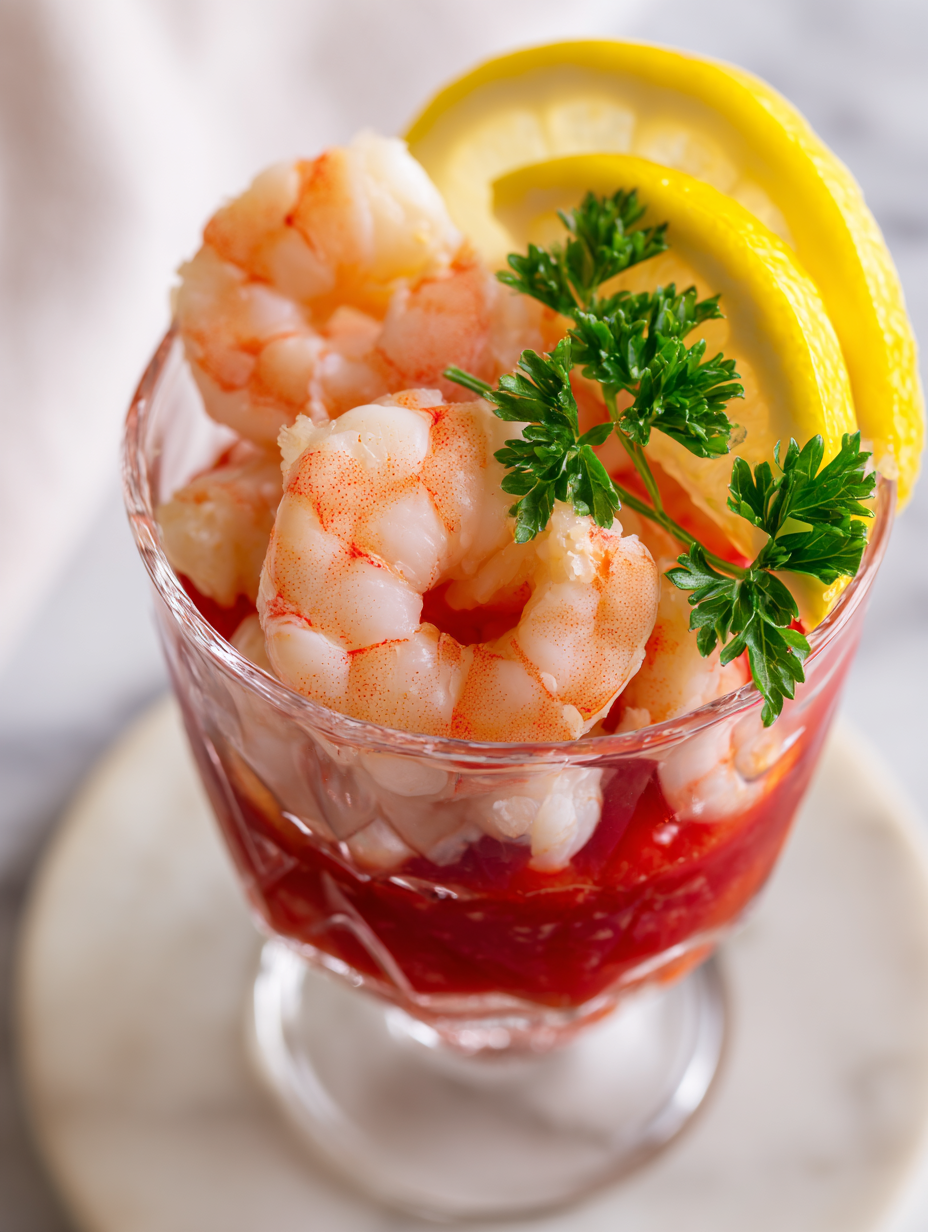
Making a shrimp cocktail at home feels like reclaiming a bit of that classic restaurant elegance without the fuss. It’s about balancing the briny sweetness of shrimp with a sauce that’s sharp, tangy, and just a touch smoky, all in one bowl. No fancy equipment needed—just some good quality shrimp and a little patience in … Read more