Peanut Butter Muffins Recipe
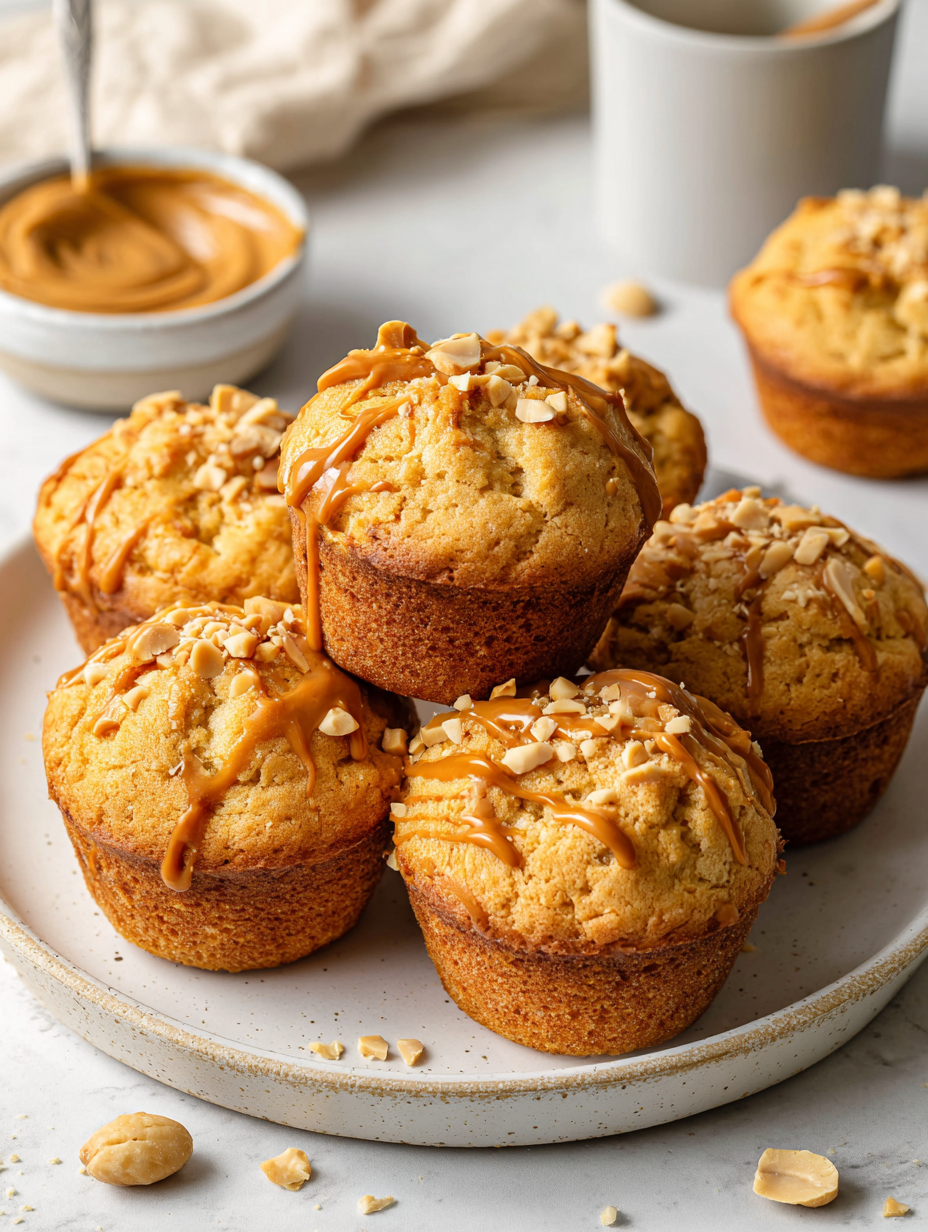
In the mornings, I need something that feels like a hug but is quick enough to eat on the go. These peanut butter muffins started as a desperate grab-bag recipe, but now they’re my little ritual. The smell of toasted peanut butter and warm batter fills the kitchen, softening the chaos outside the door. They’re … Read more