Chocolate Fondant Recipe
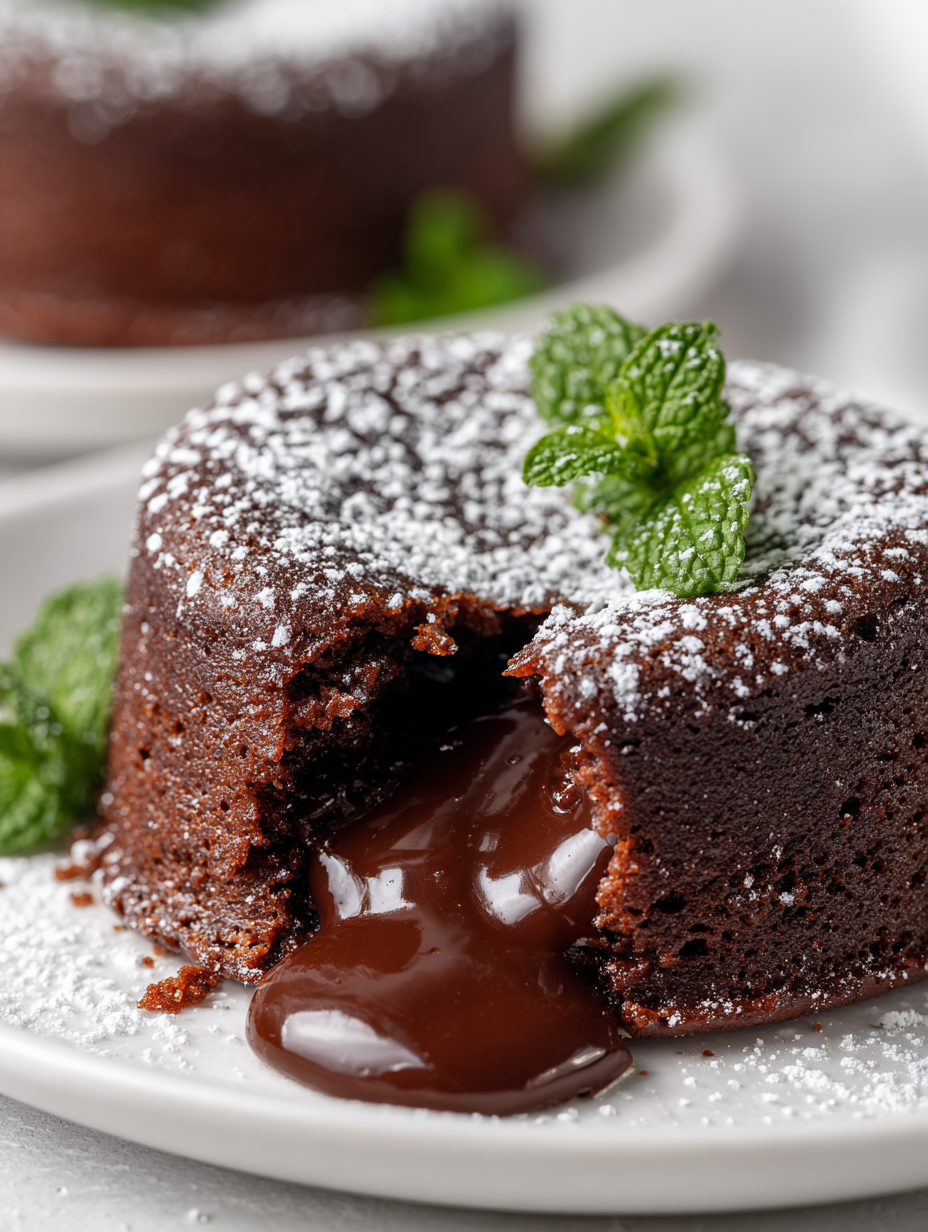
Making a chocolate fondant feels like embracing the beautiful mess of imperfections in life. That molten, gooey center is a reminder that sometimes, the best surprises come from the unexpected. It’s not about perfect timing or presentation, but about the joy of honest, slightly chaotic baking. This recipe is a little like life—rich, a little … Read more