French Onion Soup Recipe
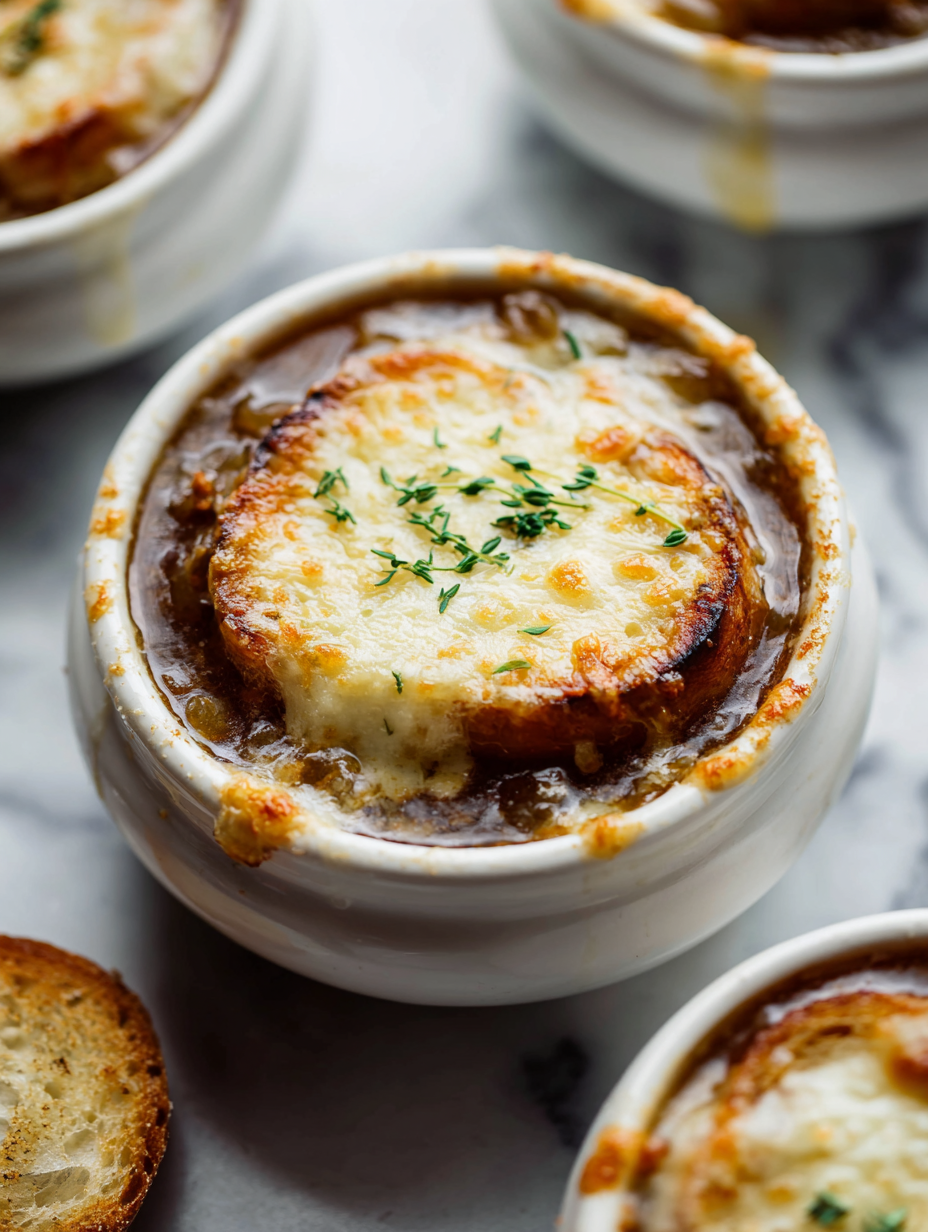
Focusing on the caramelization process, I want to show how patience with low heat transforms ordinary onions into a complex, sweet, and smoky base that defines the soul of this soup. It’s about embracing the slow burn, the patience, and the small, almost meditative steps that make the final bowl deeply satisfying and rich in … Read more