
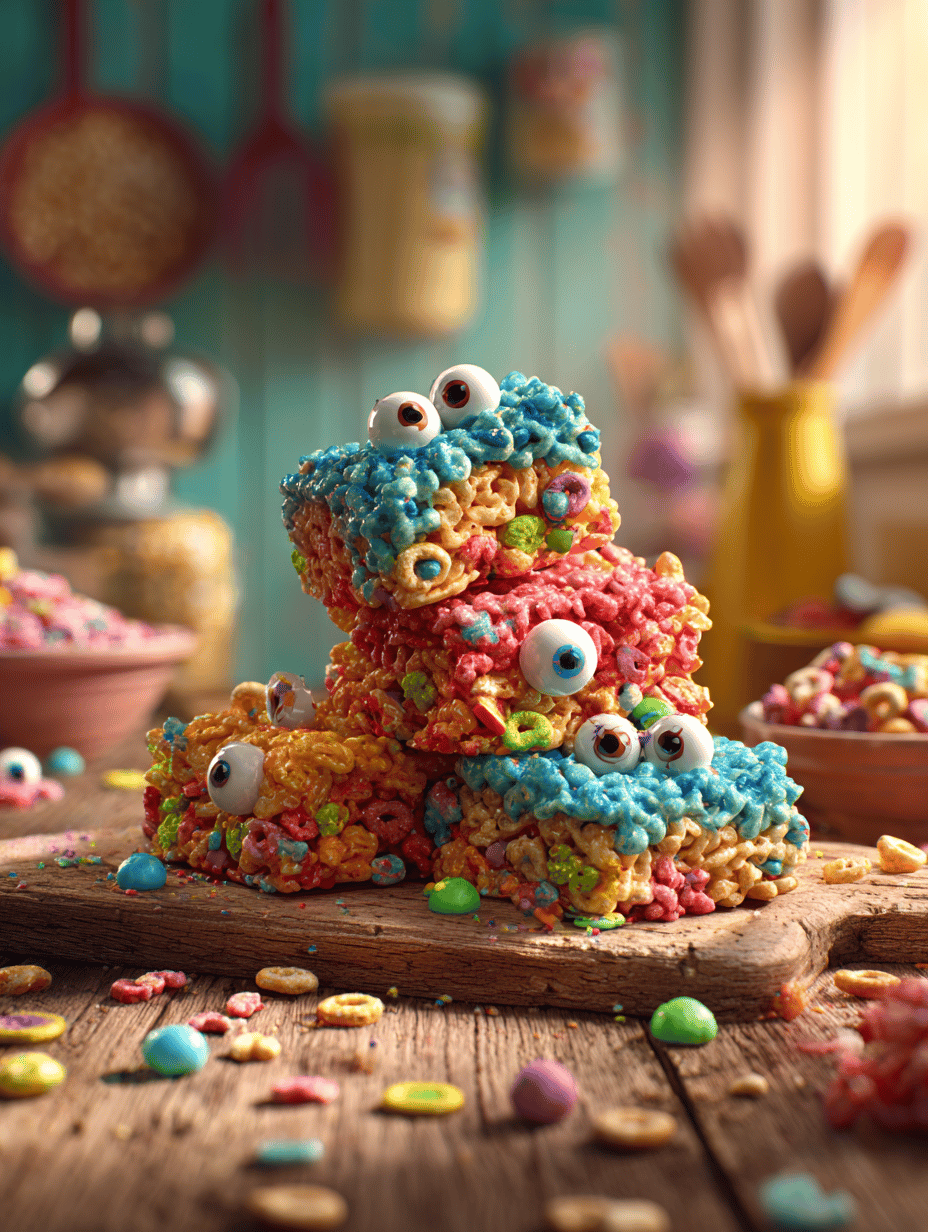
These monster rice krispie treats came from a late-night craving for something both nostalgic and a little wild. I wanted to make a batch that’s bigger, bolder, and a little messier than the usual. It’s about embracing that crunch, that chew, and the sweet, marshmallowy chaos in every bite.
Why I Keep Coming Back to These Monster Krispies
They’re unpredictable—crunchy on the edges, chewy in the middle—and remind me of childhood chaos. Every batch feels like a small victory, especially when everyone’s fighting over the last piece. It’s a messy, satisfying ritual that turns simple ingredients into something unexpectedly special. Plus, they’re quick to whip up, making them my go-to when chaos strikes and I need a sweet escape.
The Nuts and Bolts — Ingredient Breakdown
- Marshmallows: Sweet and gooey, they’re the backbone of that marshmallow flavor and stretchiness.
- Butter: Adds richness and helps everything bind, with a fragrant melt-in-your-mouth quality.
- Rice cereal: Crispy, neutral, and perfect for holding all that marshmallow goo.
- Vanilla extract: A splash brightens the sweetness; skip if you’re feeling minimalist.
- Optional extras: Chocolate chips or sprinkles add fun textures and flavors—use what sparks joy.
Tools of the Trade for Monster Krispies
- Large saucepan: For melting butter and marshmallows evenly.
- Rubber spatula: To fold in cereal and scrape the pan.
- 8×8 inch pan: To shape and contain the treats as they set.
- Wax paper or greased spatula: For pressing and smoothing the mixture into the pan.
Making Monster Rice Krispie Treats: Step-by-Step
Step 1: Gather your ingredients and equipment before you start. It makes the whole process smoother.
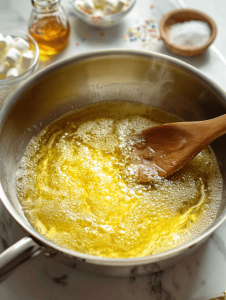
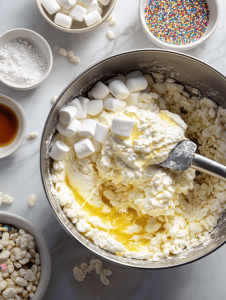
Step 2: Melt butter in a large saucepan over medium heat until it’s just bubbling and smells rich—about 2 minutes.
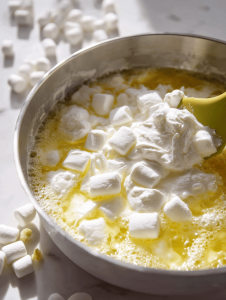
Step 3: Add marshmallows: stir constantly until completely melted, glossy, and oozy, about 4 minutes.
Step 4: Remove from heat, then quickly fold in rice cereal, mixing until evenly coated and slightly sticky.
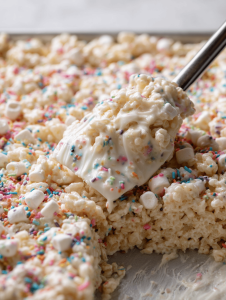
Step 5: Press the mixture into a greased pan, using a spatula or wax paper to flatten and shape it into a thick layer.
Step 6: Let it cool at room temperature for at least 30 minutes until set, then cut into squares or fun shapes.
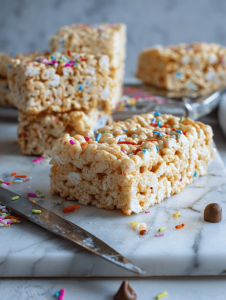
Step 7: Serve and enjoy these monster-sized treats that have a perfect crunch with a soft, chewy center.
Cooking Checkpoints & Tips to Nail the Monster Feel
- The marshmallow mixture should be glossy and smooth, not grainy, before removing from heat.
- The cereal should be fully coated but not overly sticky—if it’s too sticky, add a little more cereal.
- Press the mixture firmly into the pan to ensure it holds together once set.
- Look for a golden-brown edge that indicates it’s cooked enough but not burnt.
Common Mistakes & How to Fix Them
- High heat causing marshmallows to burn quickly.? Use low heat when melting marshmallows to prevent burning.
- Gently pressing, leading to crumbly treats.? Press firmly into the pan for a tight set.
- Mushy, grainy texture.? Ensure marshmallow mixture is glossy before removing from heat.
- Too soft or gooey when cutting.? Add an extra handful of cereal if treats are too sticky.
Monster Rice Krispie Treats
Ingredients
Equipment
Method
- Gather all your ingredients and equipment to make the process smooth and enjoyable.

- Melt the butter in a large saucepan over medium heat until it’s just bubbling and fragrant, about 2 minutes. You should hear a gentle sizzling and see the butter turn a light golden hue.
- Add the marshmallows to the melted butter and stir constantly with a rubber spatula until completely melted, glossy, and oozy, about 4 minutes. The mixture should be smooth and stretchy, releasing a sweet aroma.
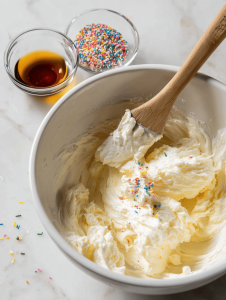
- Remove the pan from heat, then quickly fold in the vanilla extract and any optional extras like chocolate chips or sprinkles, mixing until evenly distributed.
- Pour the rice cereal into the marshmallow mixture and fold gently with your spatula until all the cereal is coated and the mixture is sticky and slightly gooey.
- Transfer the mixture into a greased 8x8 inch pan. Use a spatula or wax paper to press down firmly and evenly, shaping it into a thick layer that’s chunky and inviting.
- Let the treats cool at room temperature for at least 30 minutes, allowing them to set up and become firm but still chewy inside.
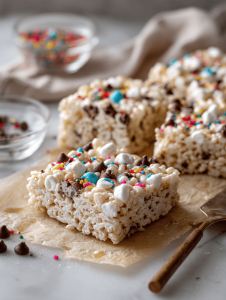
- Once cooled and set, cut into squares or fun shapes using a sharp knife and serve these messy, crunchy, and chewy monster treats to delight everyone.
Notes

Founded by Rachel Morgan, a proud home cook and foodie from Austin, Texas, this blog is all about transforming everyday meals into moments of joy.