
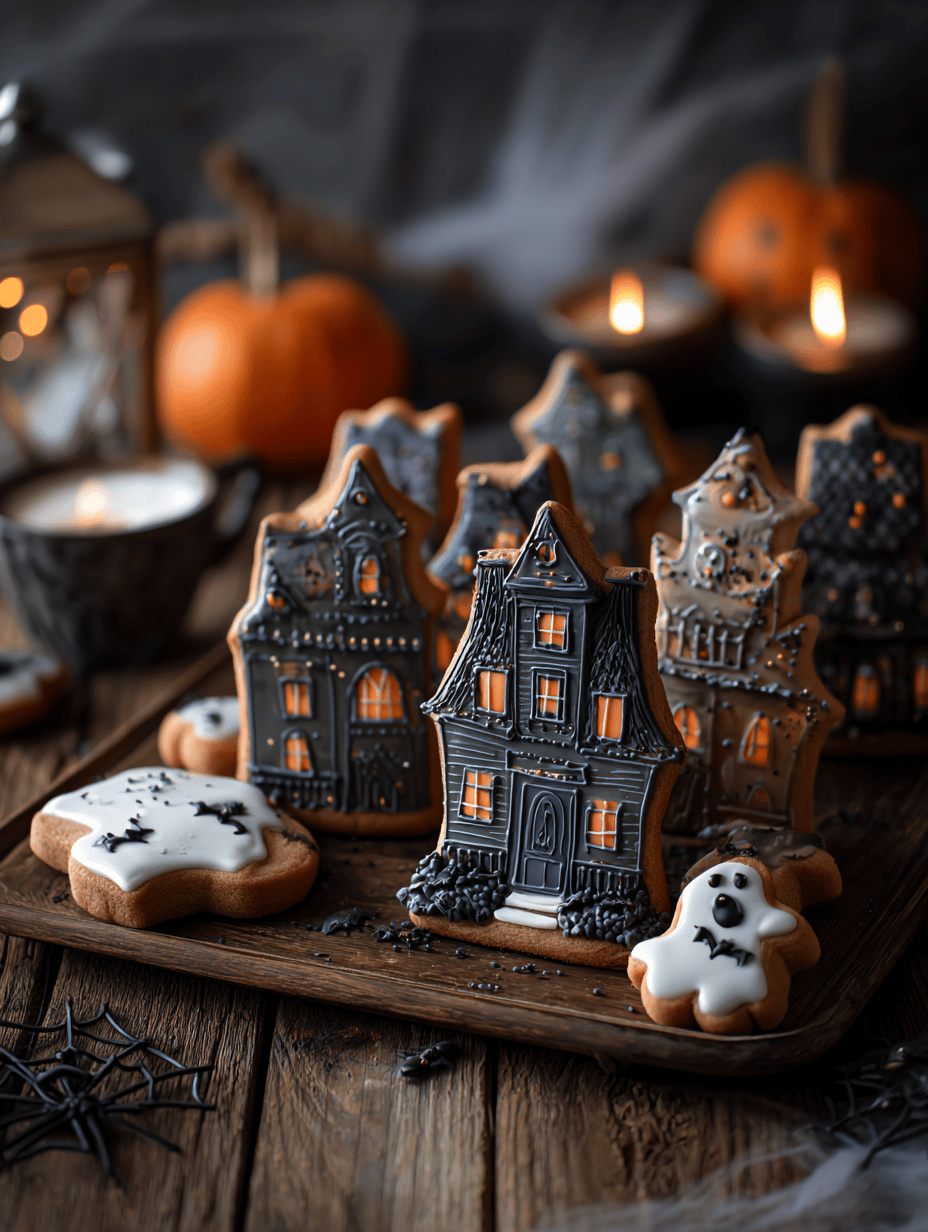
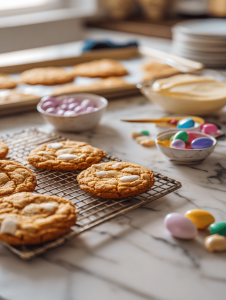
I started making haunted house cookies one Halloween when I wanted to turn simple sugar cookies into something more. The thrill of shaping and decorating them, turning a batch into tiny spooky scenes, feels like a small magic trick. It’s chaos and joy rolled into one, especially when the kids squeal at the first glimpse of their creepy faces.
Why haunted house cookies stay in my kitchen
Because they’re unpredictable—every batch gets its own personality. The messy chaos, the creative decorating, the smell of baked sugar—it’s a ritual that sparks joy and nostalgia. Plus, they’re just plain fun to make, especially when everyone’s eyes light up at the spooky faces.
Spooky ingredients and their secrets
- Butter:: Creamy and rich, it gives cookies their tender crumb. Swap with margarine if needed, but expect a slightly different texture.
- Sugar:: Sweet and crisp, it helps cookies hold their shape. Brown sugar adds moisture and depth—use it if you want a chewier bite.
- Vanilla extract:: Brightens the dough with a smoky, fragrant note. Lemon zest can be a lively substitute.
- All-purpose flour:: The backbone of the cookie. Swap with gluten-free flour for a different but still tasty experience.
- Decorative candies:: Ooze and shimmer in the light, adding to the haunted effect. Use sour candies for a tangy surprise.
- Egg:: Binder that keeps everything intact. Flaxseed meal mixed with water can be a vegan alternative.
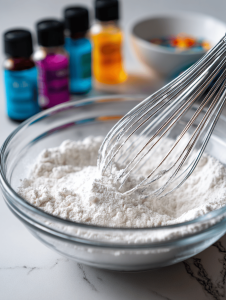
- Food coloring:: Vivid shades for spooky faces. Gel colors are more vibrant and less runny.
Tools of the trade for spooky cookie crafting
- Mixing bowls: Combine ingredients smoothly without mess.
- Electric mixer or whisk: Cream butter and sugar efficiently.
- Baking sheet: Provide a flat, even surface for baking.
- Parchment paper: Prevent sticking and easy cleanup.
- Decorating tips and piping bags: Create detailed spooky decorations.
Step-by-step guide to crafting haunted house cookies
Step 1: Preheat your oven to 180°C (350°F).
Step 2: In a large bowl, cream together 1 cup of softened butter and 1/2 cup of sugar until light and fluffy, about 3 minutes.
Step 3: Mix in 1 teaspoon vanilla extract and 1 egg until well combined.
Step 4: In a separate bowl, whisk together 2 cups of all-purpose flour, 1/2 teaspoon baking powder, and a pinch of salt.
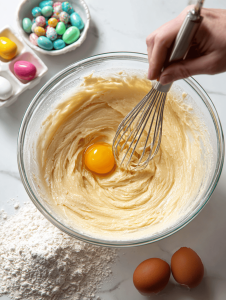
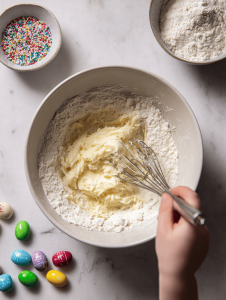
Step 5: Gradually add dry ingredients to wet, mixing just until combined.
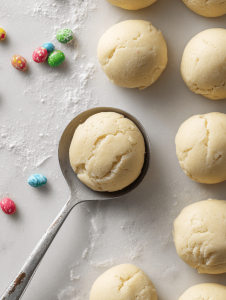
Step 6: Divide dough into small balls, about 1 inch each, and place on a lined baking sheet.
Step 7: Flatten each ball slightly with the back of a spoon or your fingers.
Step 8: Bake for 10-12 minutes, or until edges are golden brown.
Step 9: Let cookies cool on the sheet for 5 minutes, then transfer to a wire rack to cool completely.
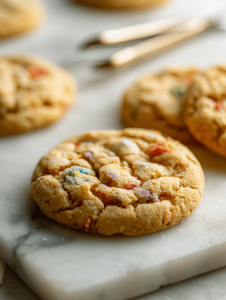
Step 10: Decorate with icing, candies, or chocolate chips to create spooky faces.
Cooking checkpoints and tips to keep your haunt authentic
- Cookies should be golden at the edges but soft in the center.
- The dough should hold together without cracking or crumbling.
- Decorations should sit firmly without melting or sliding off.
- Keep an eye on baking time; overbaking makes treats too crispy, underbaking leaves them too soft.
Common haunting mistakes and how to fix them
- Dough is too crumbly to shape.? Use room temperature butter, not melted, for better creaminess.
- Cookies spread too much in the oven.? Chill the dough for 30 minutes if it’s too soft.
- Decorations melt or slide off.? Keep the oven at a steady 180°C (350°F).
- Cookies turn out pale and dull.? Use stiff icing for decorations to prevent collapse.
Haunted House Cookies
Ingredients
Equipment
Method
- Preheat your oven to 180°C (350°F). Line a baking sheet with parchment paper to prevent sticking.
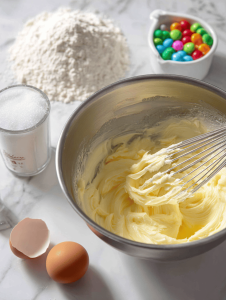
- In a large mixing bowl, beat the softened butter and sugar together with an electric mixer until the mixture is light, fluffy, and pale—about 3 minutes. The sound should be a gentle whir, and the color lighter.
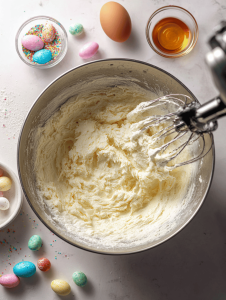
- Add in the vanilla extract and egg, beating until fully incorporated. The mixture will look smooth and slightly glossy.
- In a separate bowl, whisk together the flour, baking powder, and a pinch of salt. This ensures even distribution of leavening.
- Gradually add the dry ingredients to the wet mixture, mixing on low speed or folding gently, until the dough comes together and is soft but not sticky. It should hold shape when pressed.
- Divide the dough into small balls about 1 inch in diameter. Place each ball onto the prepared baking sheet, spacing them a few inches apart.

- Gently flatten each dough ball with the back of a spoon or your fingers, creating a slight disk shape. This helps them bake evenly and makes decorating easier.
- Bake in the preheated oven for 10-12 minutes, until the edges are golden brown and the cookies feel firm but still soft in the center. The smell of baked sugar will fill your kitchen.
- Remove the cookies from the oven and let them cool on the baking sheet for about 5 minutes. Then, transfer them to a wire rack to cool completely. They should be firm enough to handle for decorating.
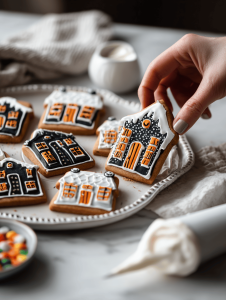
- Once cooled, use icing, piping bags, and candies to decorate the cookies with spooky faces and haunted house scenes. Use vibrant colors and creative shapes to bring your creepy designs to life.

- Let the decorations set for a few minutes, then enjoy your homemade haunted house cookies—perfect for Halloween festivities or spooky fun!

Founded by Rachel Morgan, a proud home cook and foodie from Austin, Texas, this blog is all about transforming everyday meals into moments of joy.