
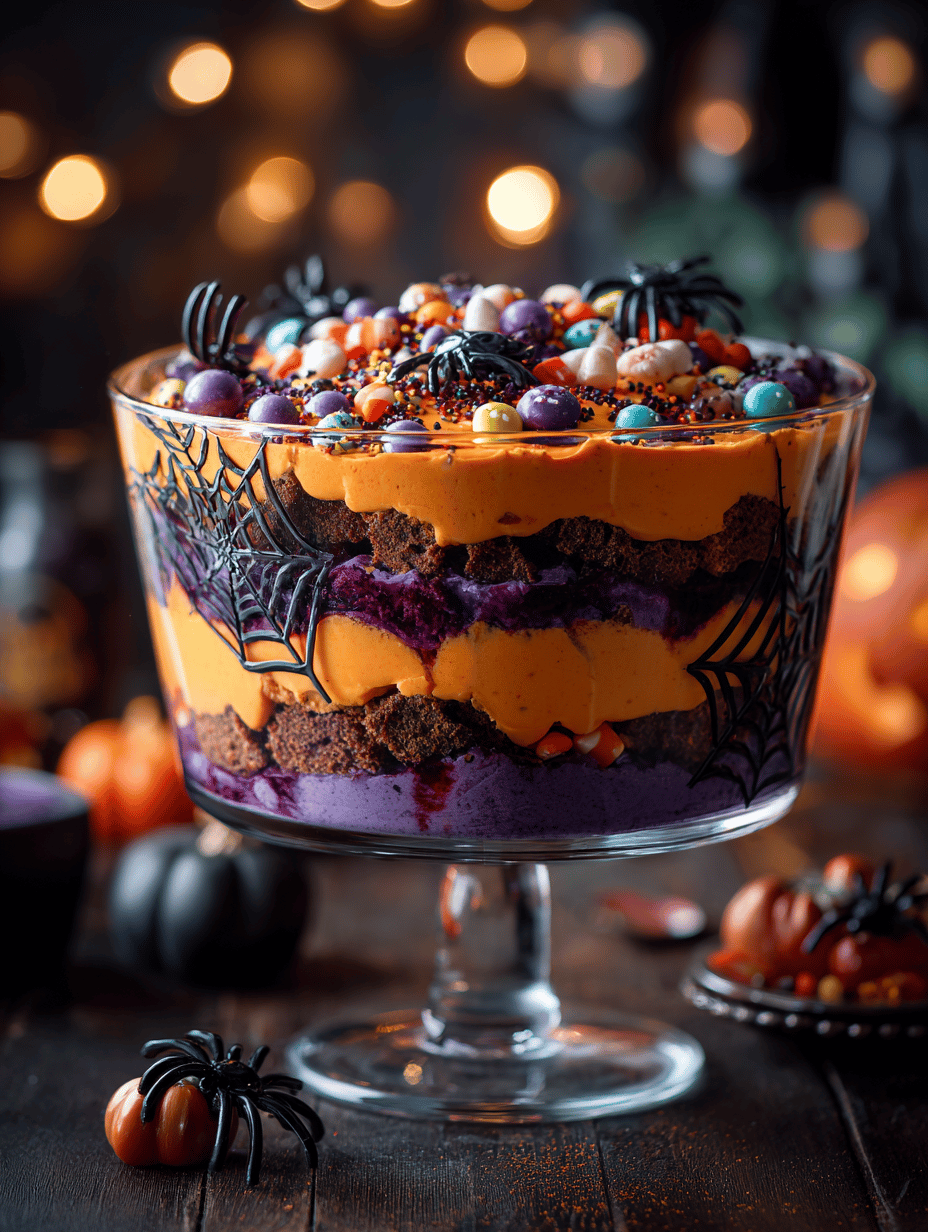
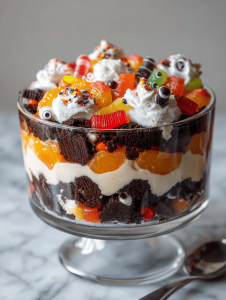
Halloween is the one night I give myself permission to get a little wild in the kitchen. This trifle started as a way to use up leftover candies and fruit, but it grew into a playful, layered spectacle. It’s messy, it’s vibrant, and it’s got that perfect mix of sweet and spooky. Plus, it’s so flexible—you can swap out ingredients based on what you have.
Why I keep making this haunted dessert
It’s a mess, but a joyful one. Every year, I love rediscovering the playful chaos, tweaking ingredients, and watching faces light up when it’s served. Plus, it’s a no-fuss crowd-pleaser that sparks conversation and creativity in the kitchen.
A breakdown of spooky ingredients and their roles
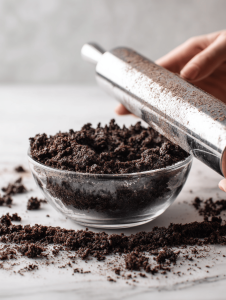
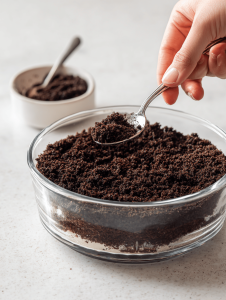
- Chocolate cookies or biscuits: Crushed into crumbs, they form a crunchy base and layer. Swap for gluten-free if needed.
- Vanilla pudding or custard: Creamy, rich, and smooth; binds the layers with a gentle sweetness.
- Fruit (oranges, berries, or mandarins): Bright, juicy bursts of flavor and color that scream Halloween.
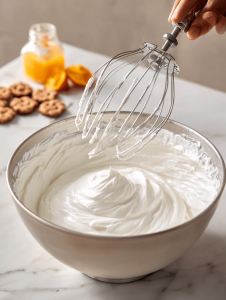
- Whipped cream: Light and airy, balances the denser layers, adding a fluffy finish.
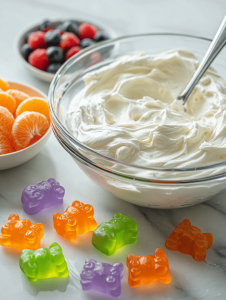
- Gelatin or jelly cubes: Adds a spooky, wobbly texture and vibrant color—think bright green or blood-red.
- Gummy worms or spooky sprinkles: For fun, creepy accents that kids and adults alike enjoy.
- Candy eyeballs or gummy eyeballs: A fun, eerie touch that makes the dessert truly Halloween.
Tools of the spooky trade
- Glass trifle dish: Shows off the colorful layers and makes serving easy.
- Electric mixer: Quickly whips the cream to fluffy perfection.
- Rubber spatula: Gently folds ingredients without deflating the whipped cream.
- Sharp knife: Cuts fruits and cookies precisely for neat layers.
- Mixing bowls: Preps each component separately for smooth layering.
Step-by-step for a spooky, delicious Halloween trifle
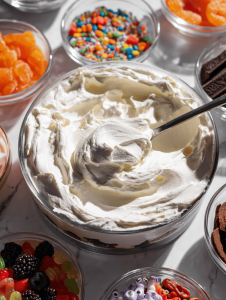
Step 1: Gather your ingredients and tools before you start, so nothing sneaks up on you mid-prep.
Step 2: Whip the cream until soft peaks form, about 3-4 minutes, and set aside.
Step 3: Layer your spooky elements—think crushed cookies, jelly eyeballs, and bright orange fruits—into a clear glass dish.
Step 4: Assemble in stages: cookies first, then pudding, fruit, and whipped cream, repeating layers until full.
Step 5: Chill for at least 2 hours so flavors meld and textures firm up.
Step 6: Before serving, add final touches like gummy worms or spooky sprinkles for extra creepiness.
Creepy checkpoints and tips for perfect layers
- Ensure the whipped cream is softly peaking; overbeaten becomes grainy.
- Layer ingredients evenly to avoid a lopsided look and flavor imbalance.
- Chill the assembled trifle for at least 2 hours; it helps everything set and meld.
- Watch the gelatin or jelly; it should be firm but not rubbery.
Beware these common tricks and how to fix them
- Over-whipped cream.? If the cream turns grainy, stop whisking immediately and start over with fresh cream.
- soggy layers.? Dampen the sponge or cookies slightly if they soak up too much liquid and turn mushy.
- Unfirm jelly.? If the jelly isn’t setting, add a pinch more gelatin and chill longer.
- Runny layers.? Too much liquid pooling at the bottom? Use a thicker pudding or let it set longer before layering.
Halloween Spooky Trifle
Ingredients
Equipment
Method
- Gather all your ingredients and tools. Crush the cookies into fine crumbs using a rolling pin or food processor, then set aside.
- Whip the cream in a mixing bowl using an electric mixer until soft peaks form, about 3-4 minutes. Set aside.
- Prepare the gelatin or jelly cubes according to package instructions, then let them cool until slightly firm but still wobbly.
- Begin layering your trifle by spreading a layer of crushed cookies at the bottom of the glass dish, creating a crunchy base.

- Spoon a layer of vanilla pudding over the cookies, smoothing it gently with a spatula for an even surface.

- Add a layer of chopped fruit, distributing it evenly for bursts of color and fresh flavor.
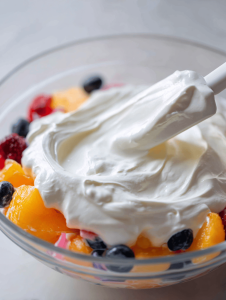
- Spread a layer of whipped cream over the fruit, creating a fluffy, white layer.
- Place the cooled gelatin cubes over the whipped cream, pressing them slightly into the layer to help them set.
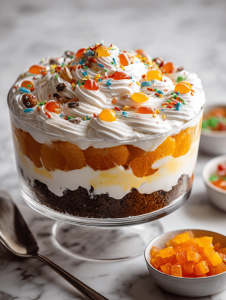
- Repeat the layering process—cookies, pudding, fruit, whipped cream, and jelly—until the dish is full, finishing with a whipped cream layer on top.
- Gently spread the remaining whipped cream over the top and refrigerate for at least 2 hours to let flavors meld and layers set.
- Just before serving, decorate with gummy worms, spooky sprinkles, and candy eyeballs for a creepy, fun finish.
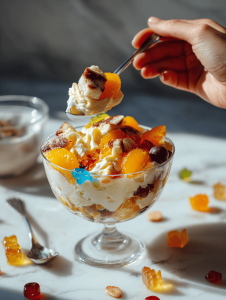
- Serve your colorful Halloween trifle with excitement and enjoy the messy, delightful mix of textures and flavors!

Founded by Rachel Morgan, a proud home cook and foodie from Austin, Texas, this blog is all about transforming everyday meals into moments of joy.