
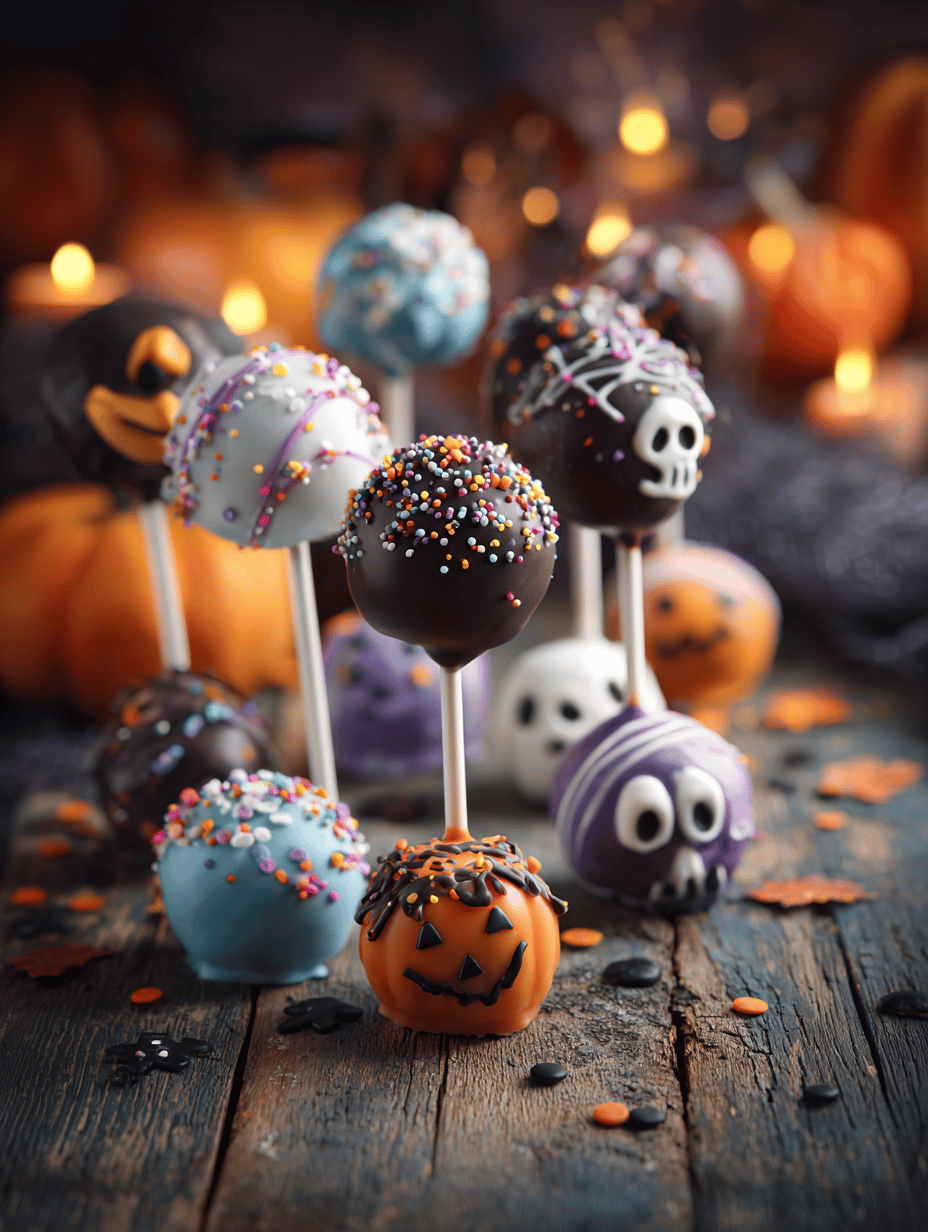
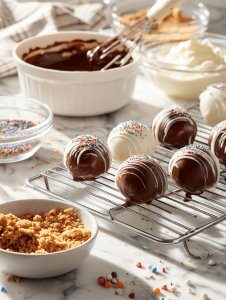
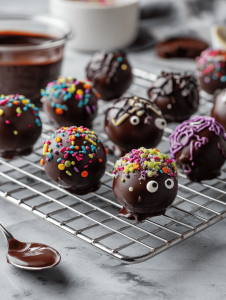
I’ve always loved the contrast of spooky and sweet that Halloween brings, and these cake pops are my odd little obsession. They’re a bit messy, a bit chaotic, but utterly satisfying to make and eat. Plus, they turn a simple cookie and cream cheese mixture into tiny edible sculptures of fun.
Why I keep making these spooky treats
They’re a perfect mix of chaos and calm, a reminder that imperfect is often the most memorable. Plus, the surprise of biting into a crunchy, chocolatey shell to find soft, sweet center keeps me coming back every Halloween. It’s a messy, joyful ritual that sparks creativity and nostalgia.
Breaking down the spooky ingredients
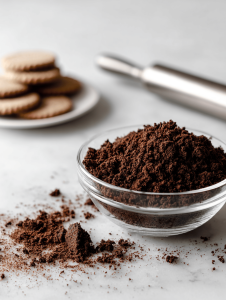
- Cookies: Crunchy, sweet base that absorbs cream cheese well. Swap with graham crackers if needed.
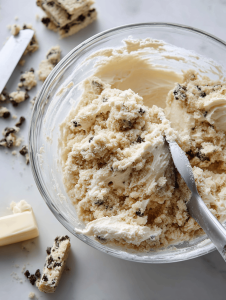
- Cream cheese: Adds moisture and binds the dough. Use full-fat for richest flavor.
- Chocolate coating: Dark, milk, or white—whatever you prefer. Keep it smooth and glossy.
- Sprinkles and decorations: Edible bits that add personality and creepiness. Use whatever fits your theme.
- Food coloring and edible glitter: For that extra pop of creepy color and shimmer. Use sparingly.
- Oil or shortening: Helps thin the chocolate for dipping, giving a shiny finish.
- Candy eyes or tiny fangs: Fun, spooky details that make your cake pops stand out.
Tools of the spooky trade
- Double boiler or microwave-safe bowl: Melting chocolate gently without burning.
- Mixing bowls: Combining ingredients and prepping the dough.
- Cookie scoop or spoon: Portioning uniform cake balls.
- Cooling rack: Allowing chocolate to set evenly.
- Decorating brushes and piping bags: Adding detailed spooky decorations.
Step-by-step guide to spooky sweet success
Step 1: Prepare your workspace with all ingredients and tools laid out.
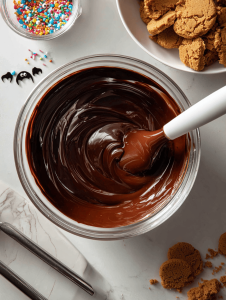
Step 2: Melt the chocolate and butter together over a double boiler or in short bursts in the microwave, stirring until smooth.
Step 3: Mix crushed cookies with cream cheese until you get a doughy consistency.
Step 4: Shape small balls from the dough, about the size of a walnut, and insert a stick into each.
Step 5: Chill the balls in the fridge for at least 30 minutes until firm.
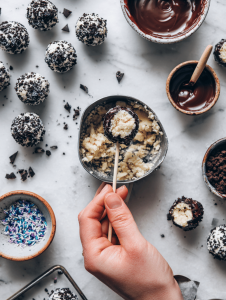
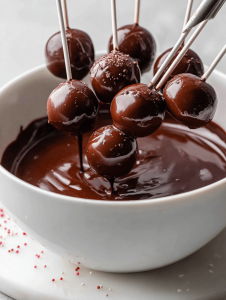
Step 6: Dip each chilled ball into the melted chocolate, ensuring an even coat.
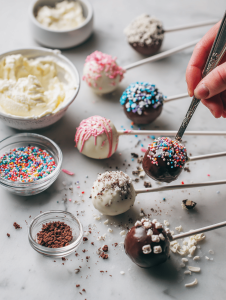
Step 7: Decorate with sprinkles, edible glitter, or colored icing while the chocolate is still wet.
Step 8: Let the cake pops sit at room temperature until the chocolate sets completely.
Cooking checkpoints: How to tell when your cake pops are perfect
- Chocolate coating is shiny and smooth without streaks.
- Cake center feels firm but yields slightly when gently pressed.
- Decorations are set firmly without smudging.
- No greasy or oily film on the surface—chocolate has properly set.
Common mistakes and how to fix them
- Chocolate isn’t smooth or shiny.? Chocolates are streaky or dull → Stir in a few drops of coconut oil for shine.
- Chocolate is too hot or balls are too warm.? Cake balls crack when dipping → Chill longer or slightly reheat chocolate.
- Decorations falling off before chocolate sets.? Decorations slide off → Use a small dab of melted chocolate as glue.
- Dough is too dry or crumbly.? Cake pops are too crumbly → Chill longer and avoid overmixing.
Spooky Halloween Cake Pops
Ingredients
Equipment
Method
- Set up your workspace with all ingredients and tools within easy reach. Crush the cookies into fine crumbs using a food processor or by placing them in a bag and smashing with a rolling pin.
- Mix the crushed cookies with softened cream cheese until well combined and the mixture feels sticky and dough-like when pressed.
- Use a cookie scoop or spoon to portion out small balls, about the size of a walnut, and roll them gently between your palms. Insert a stick into each ball to create the cake pop handle.
- Place the shaped cake pops on a cooling rack and chill in the refrigerator for at least 30 minutes until firm and chilled through.
- While the cake pops chill, melt the chocolate along with a tablespoon of oil or shortening in a double boiler or microwave, stirring until smooth and glossy. Be careful not to overheat to prevent burning.
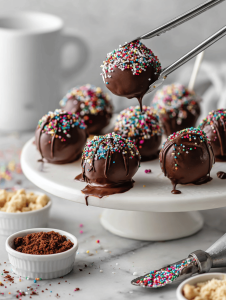
- Dip each chilled cake pop carefully into the melted chocolate, turning gently to coat evenly. Tap off excess chocolate gently against the side of the bowl.
- Decorate immediately with sprinkles, edible glitter, or spooky details like tiny fangs or candy eyes while the chocolate is still wet and shiny.
- Place the decorated cake pops on the cooling rack and allow the chocolate to set at room temperature, about 15-20 minutes, until they are firm and glossy.
- Once set, serve your spooky cake pops on a platter and enjoy their crunch and sweetness, perfect for Halloween festivities!

Founded by Rachel Morgan, a proud home cook and foodie from Austin, Texas, this blog is all about transforming everyday meals into moments of joy.