
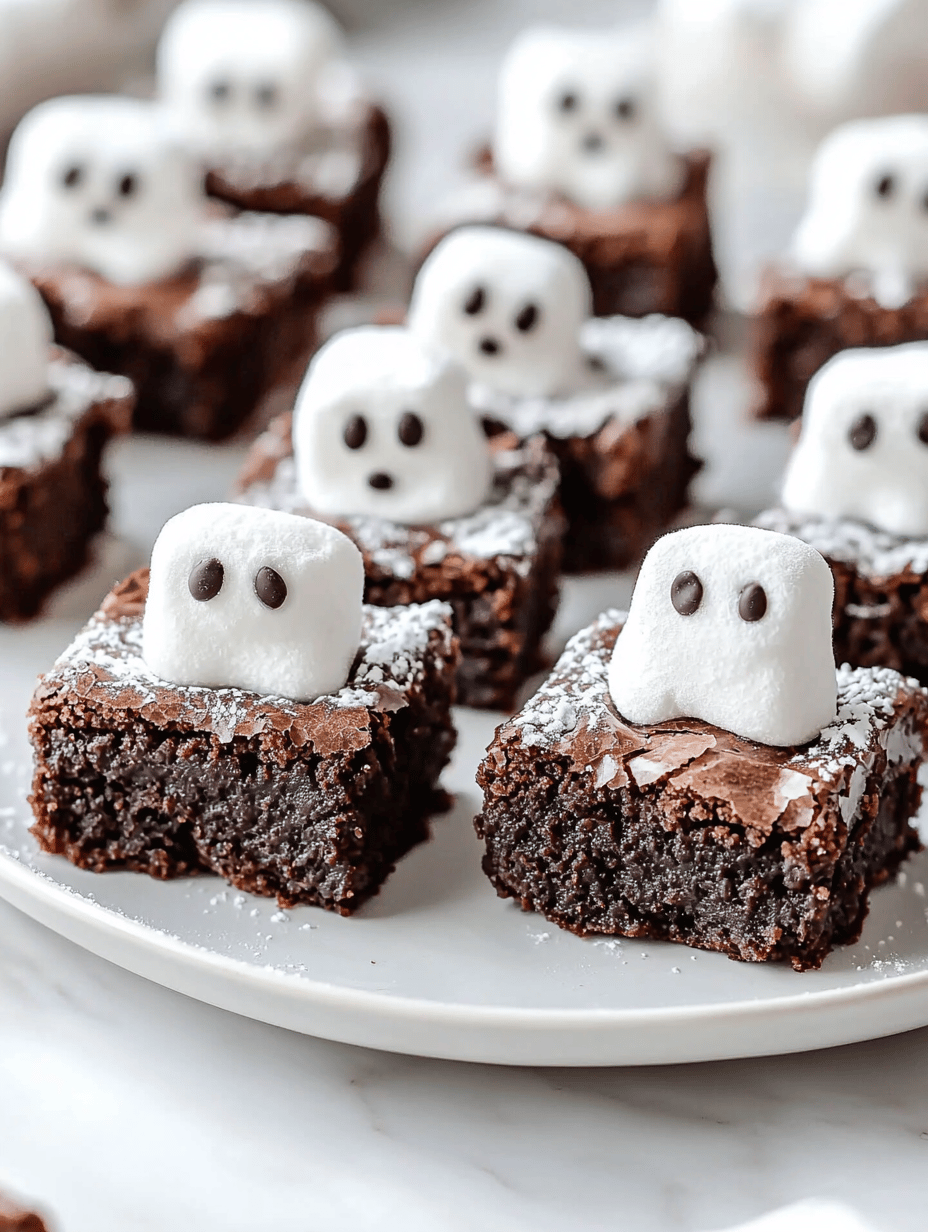
Once October rolls around, I crave more than just candy—I want something that captures the spirit of Halloween in every bite. These Ghost Brownies bring a dash of spooky charm to your dessert table, with ghostly white faces floating atop rich, fudgy squares. It’s a celebration of chaos and creativity, all in one bite.
What makes this recipe stand out isn’t just its creepy appearance. It’s how achievable it is to transform simple brownies into adorable ghostly figures with minimal effort. Watching little hands delight in decorating these spook-tacular treats is part of the charm. Plus, the smell of melting chocolate mingled with vanilla leaves the whole house feeling festive.
Ghost Brownies
Ingredients
Equipment
Method
- Preheat your oven to 350°F (175°C) and line a 9x9 inch baking pan with parchment paper, leaving an overhang for easy removal.
- In a large mixing bowl, whisk together the melted butter and sugar until smooth and glossy.
- Add the beaten eggs and vanilla extract to the mixture, stirring well to incorporate everything evenly.
- Sift the cocoa powder, flour, baking powder, and salt together in a separate bowl, then gradually fold these dry ingredients into the wet mixture using a spatula. Mix just until combined, and the batter becomes thick and shiny.
- Pour the batter into the prepared pan, spreading it evenly with a spatula to fill all sides and corners.
- Bake in the preheated oven for about 25-30 minutes, or until a toothpick inserted into the center comes out with just a few moist crumbs. Let the brownies cool completely on a wire rack.
- Once cooled, lift the brownies out of the pan using the parchment overhang and transfer to a clean surface.
- Using a piping bag filled with white icing, pipe ghostly faces onto the top of each brownie—these will resemble floating ghosts with rounded heads and little draping bodies.
- Optional: Use a small spatula or butter knife to smooth out or add details to the icing for more expressive ghost faces.
- Allow the decorated brownies to set for about 15 minutes until the icing firms up slightly.
- Slice the brownies into squares and serve the spooky treats, enjoying their rich, fudgy texture and playful ghostly decorations.
Notes
These Ghost Brownies are perfect for last-minute Halloween gatherings or when you want a sweet surprise that’s both fun and delicious. They combine ease with a touch of whimsy, making them a hit with kids and adults alike. In the end, it’s all about sharing laughter and spooky cheer over a batch of gooey, ghostly brownies.
As the season of costumes and carved pumpkins unfolds, these treats remind us that simple ingredients can create magical moments. A little creativity turns ordinary brownies into a whimsical centerpiece. So, why not indulge in some ghostly fun that’ll linger in everyone’s memory long after October ends?

Founded by Rachel Morgan, a proud home cook and foodie from Austin, Texas, this blog is all about transforming everyday meals into moments of joy.