Pumpkin Whoopie Pies: A Nostalgic Fall Treat with a Twist
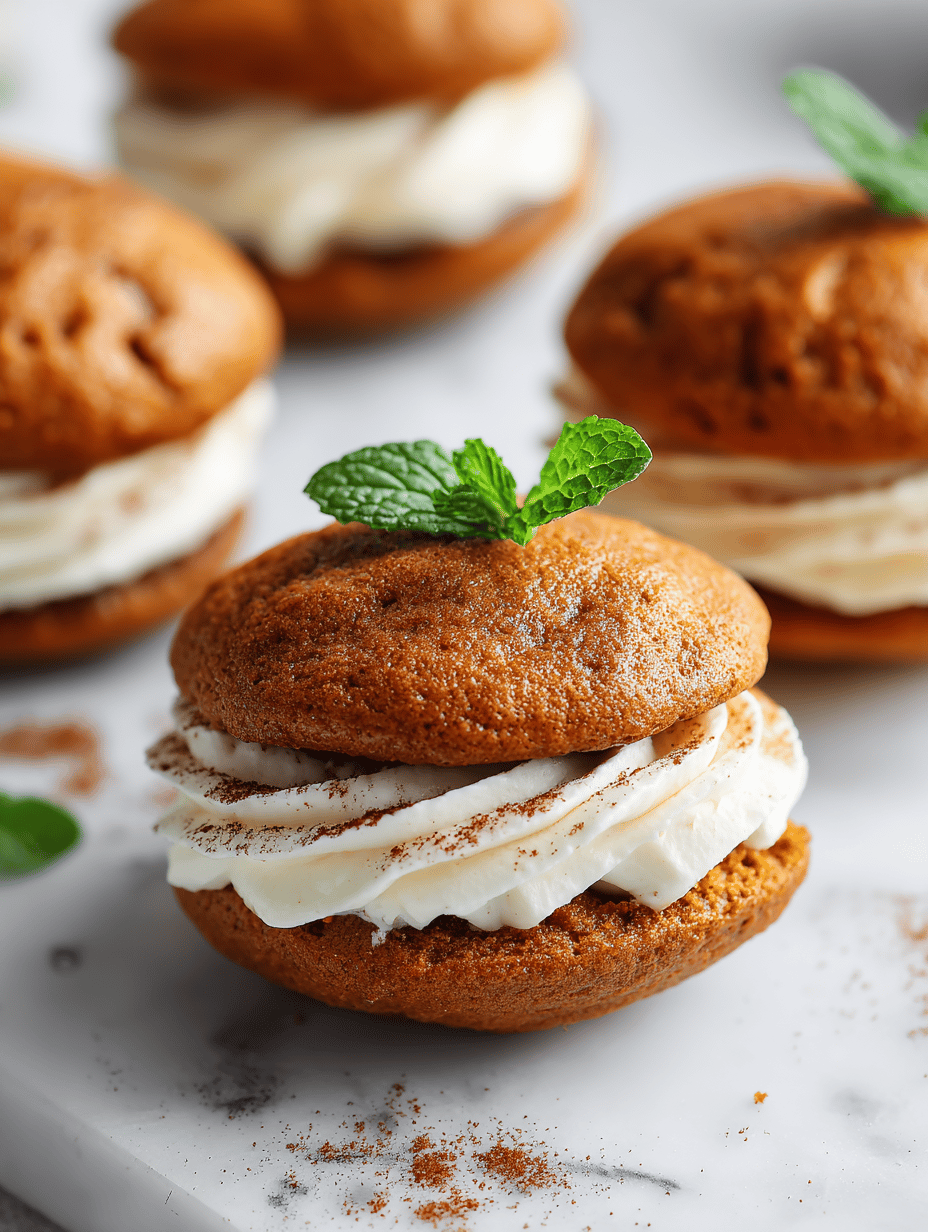
Pumpkin whoopie pies aren’t just for Halloween—they’re a reminder of autumn’s quiet magic. I love how the spicy, smoky pumpkin flavor pairs with a sweet, creamy filling, making each bite a little celebration. This recipe is about embracing imperfection and enjoying the simple joy of baking from scratch. Why I Keep Baking These Pumpkin Pies … Read more