No-bake Peanut Butter Bars Recipe
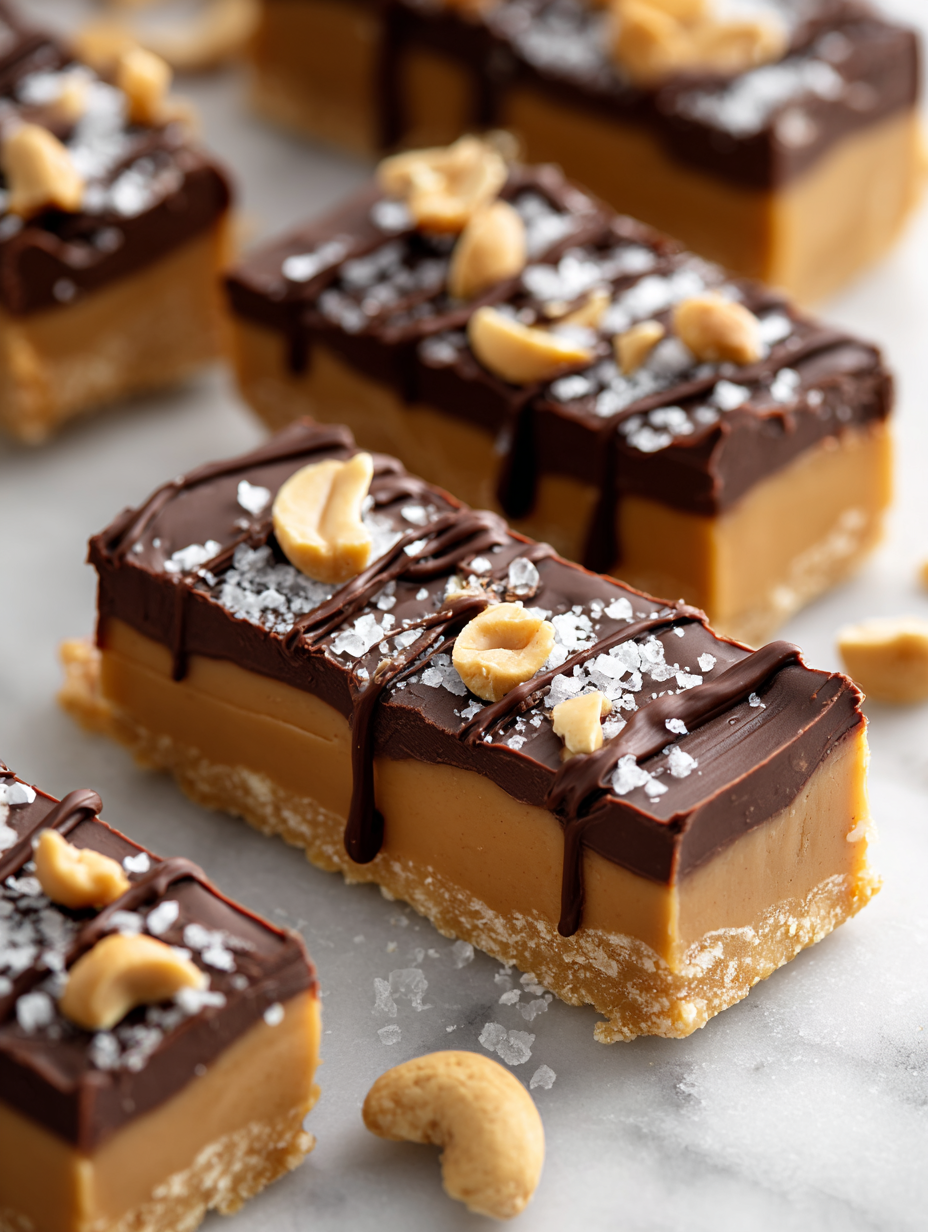
One evening, the lights flickered out just as I was about to finish baking. Instead of reaching for the microwave or the oven, I grabbed a jar of peanut butter and some graham crackers. That quiet, unplanned moment turned into a surprisingly satisfying treat, no baking required. There’s something about the simplicity—peanut butter, chocolate, a … Read more