Yogurt Snack Jar Recipe
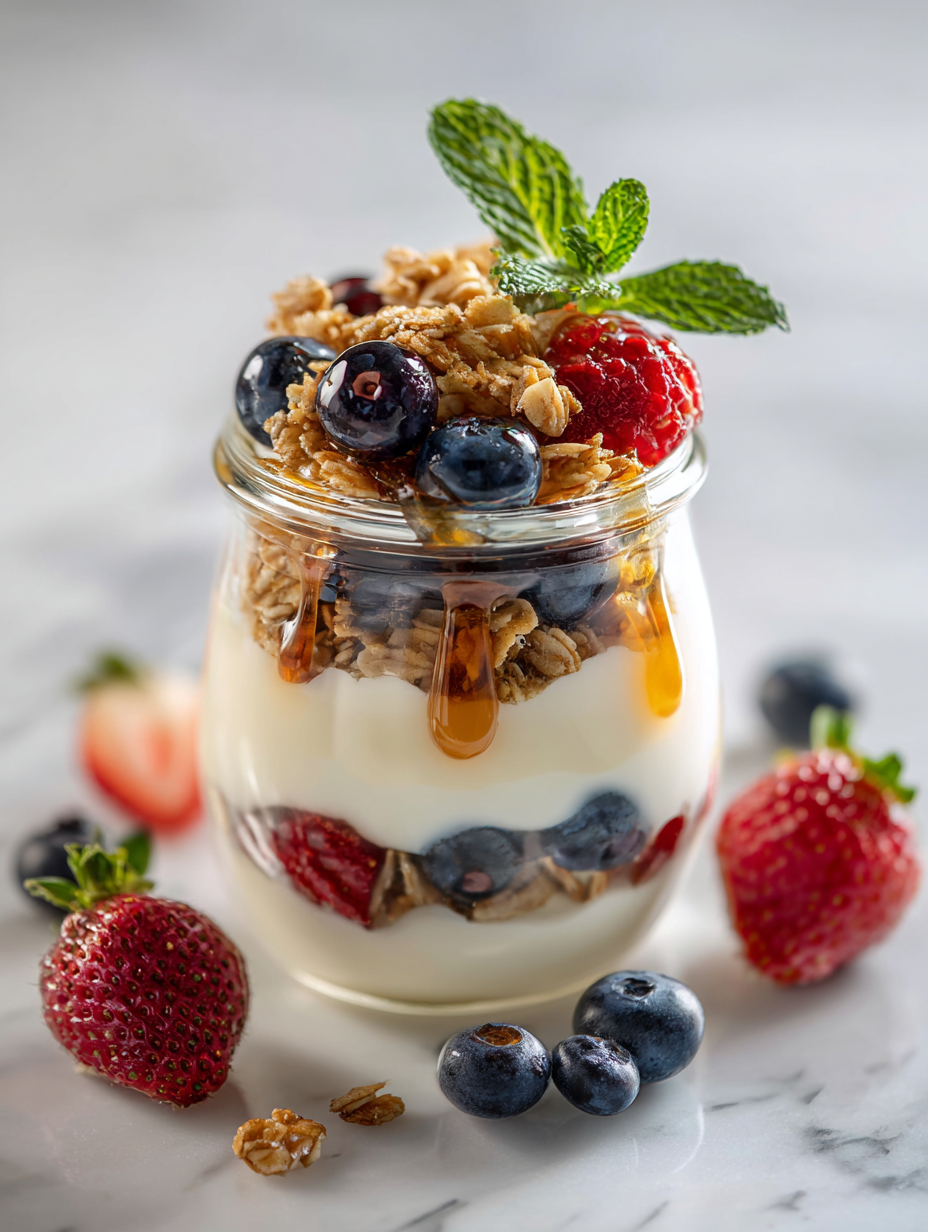
This yogurt snack jar is my go-to for mornings that feel too rushed for anything elaborate. It’s a tiny act of self-care, packed in a portable jar, perfect for grabbing on the way out the door. The best part? You can customize it with your favorite toppings or fruits, making it a small, personal treat … Read more