Fizzy Winter Wonderland: The Champagne Slushie Revival
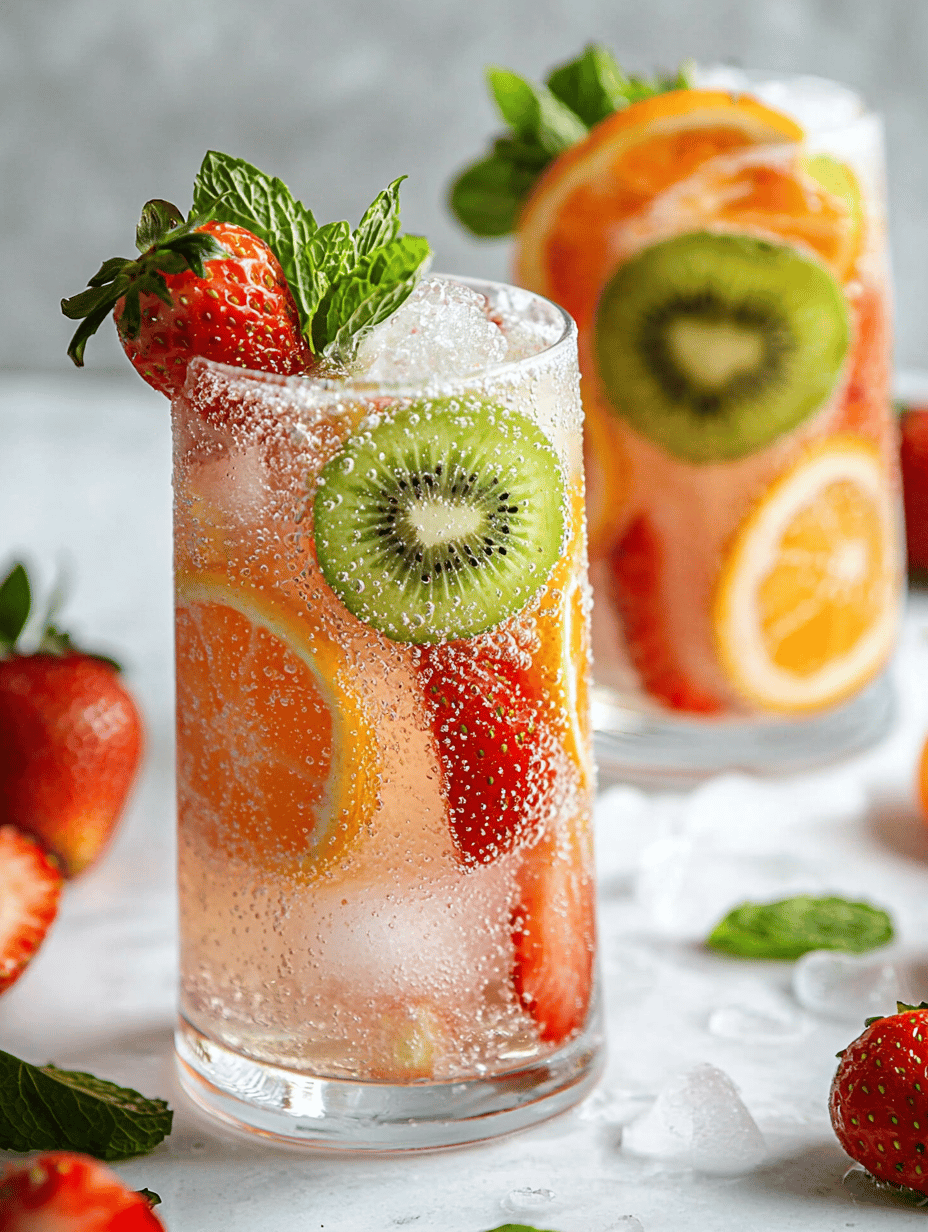
Every winter, I crave something that sparkles as much as the holiday lights. That’s when I rediscover my love for champagne slushies, a surprisingly effortless treat that screams celebration. But this isn’t your typical frozen cocktail—it’s a nostalgic swirl of champagne chill and fruity zest, perfect for gatherings or just a cozy night in. This … Read more