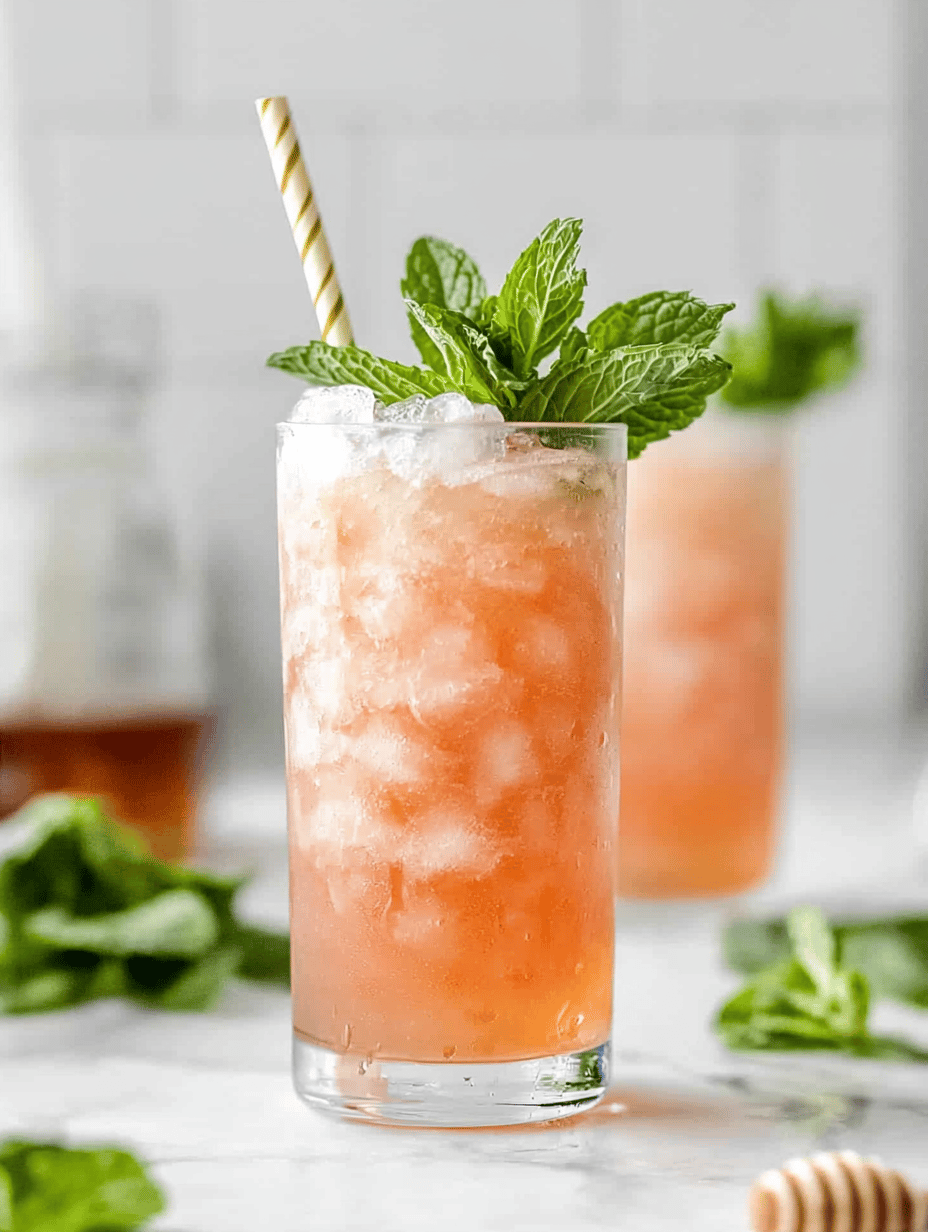
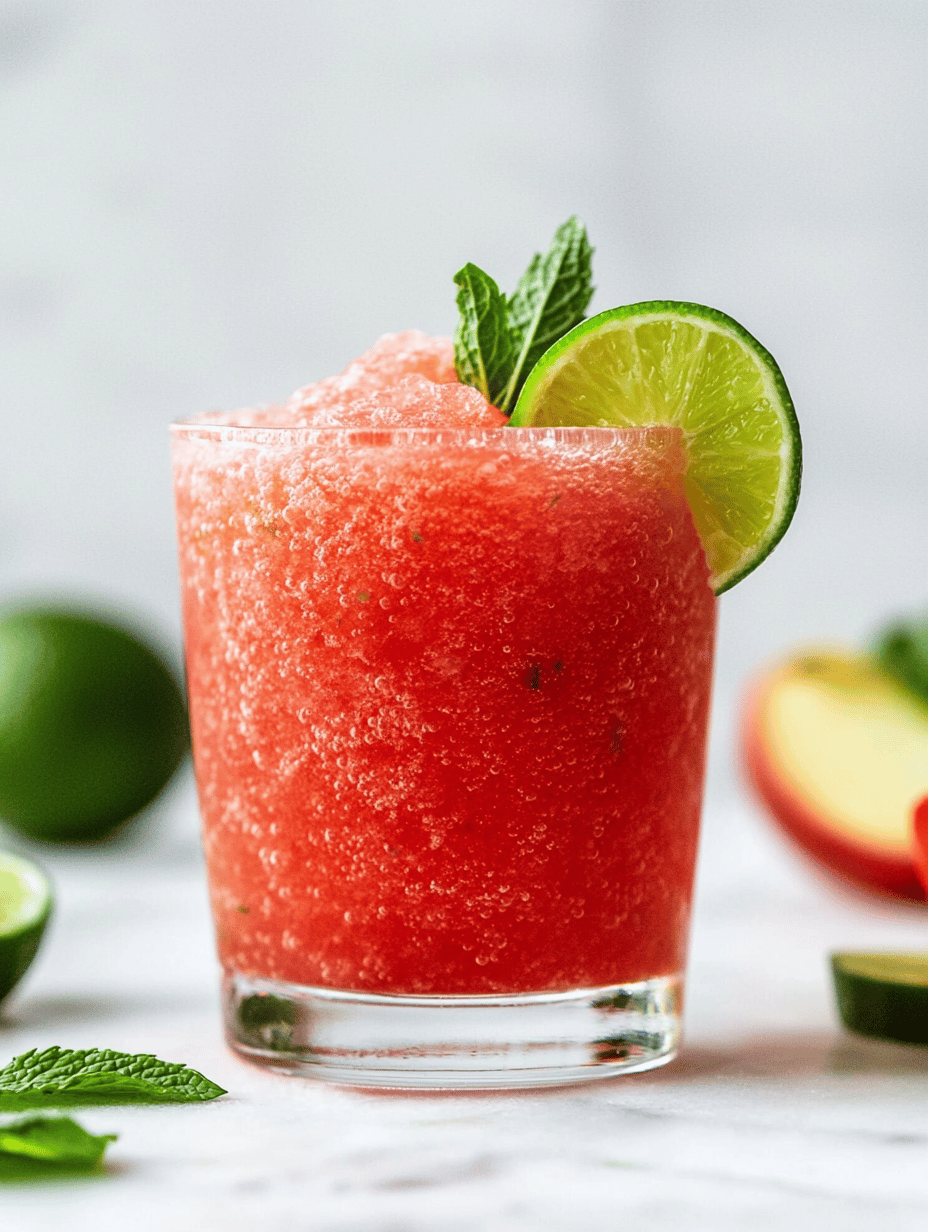
Chill Out with a Frozen Margarita Slushie: The Unexpected Spark of Summer Nostalgia
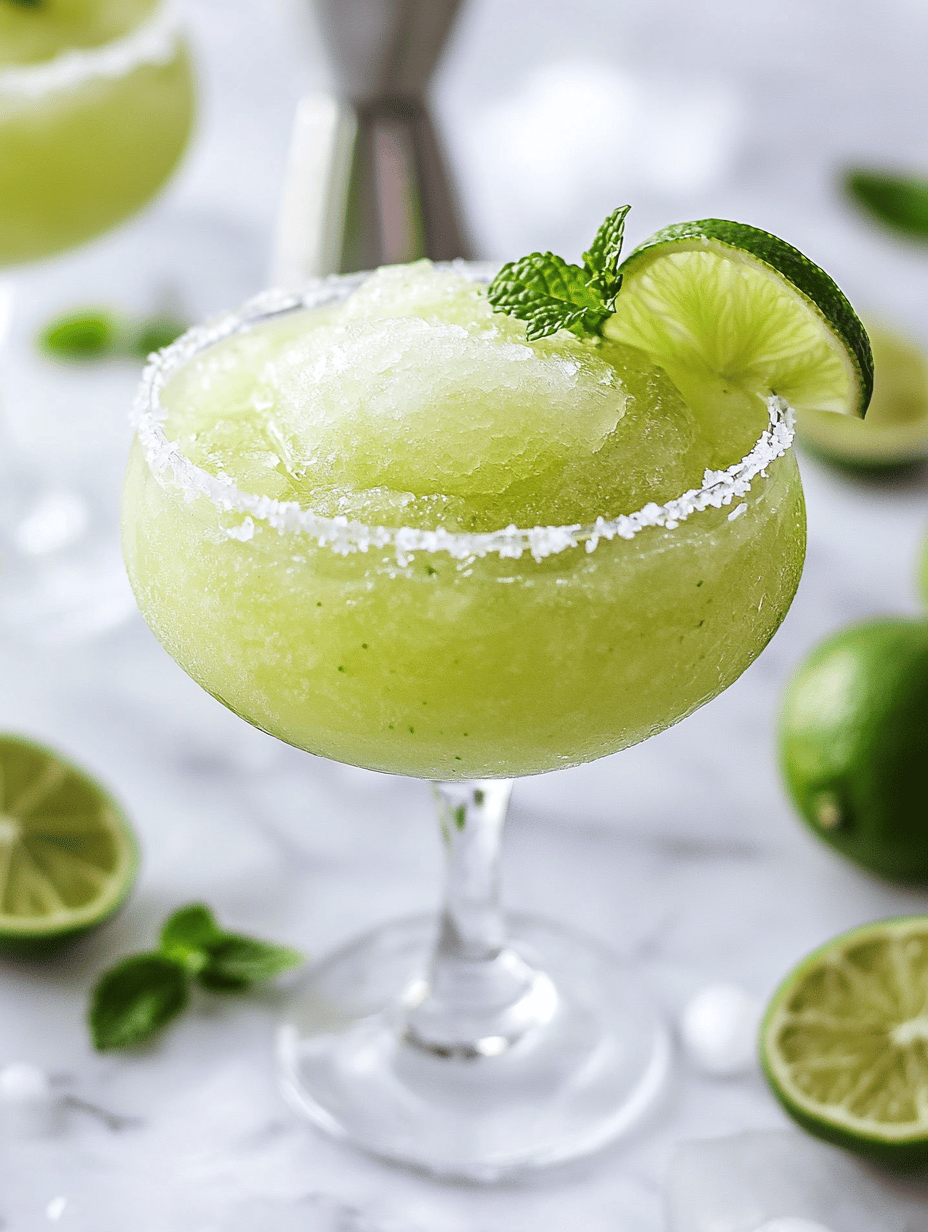
Stepping into the summer season, I often crave a frozen treat that cuts through the heat and stirs up a rush of childhood memories. The frozen margarita slushie is my current obsession, not just for its icy coolness but for the way it captures the essence of lazy beach days and carefree afternoons. This recipe … Read more