Mediterranean Bean Salad Recipe
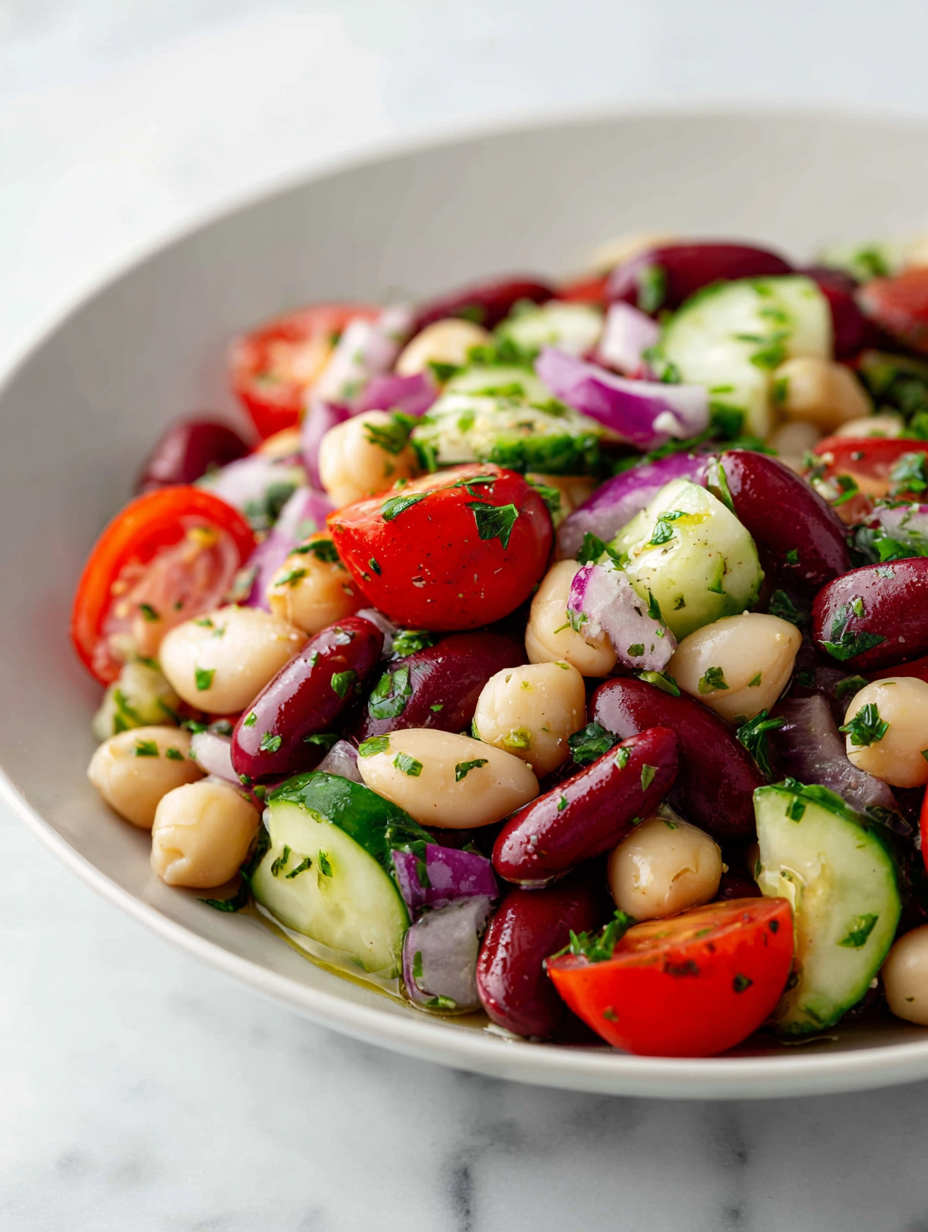
This Mediterranean Bean Salad is more than just a side—it’s a textural adventure. I love how the creamy beans meet the crunch of fresh vegetables, all tied together with a lemony zing. It’s a dish that feels bright and satisfying, perfect for those days when you want something quick but not boring. I discovered this … Read more