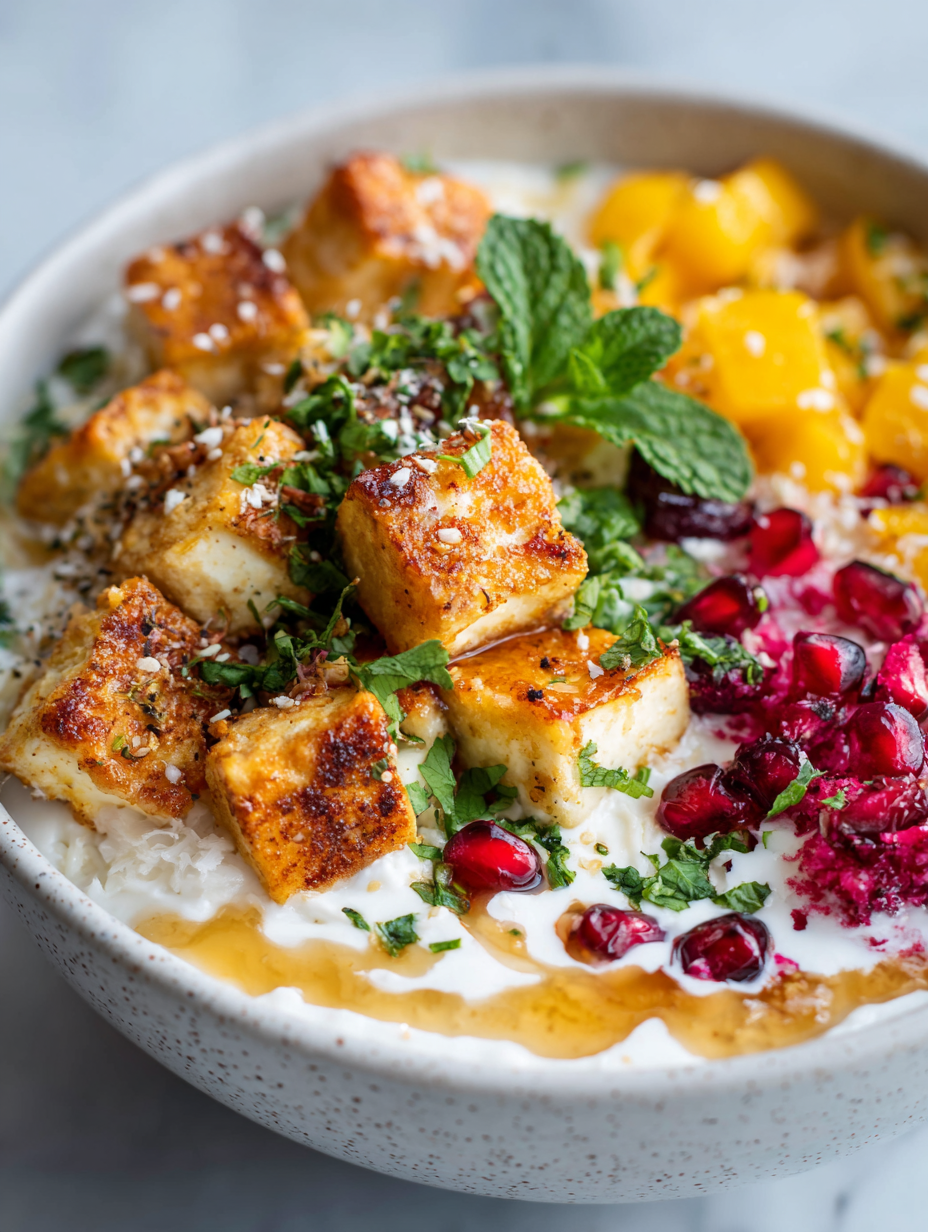
Yogurt Protein Bowl Recipe
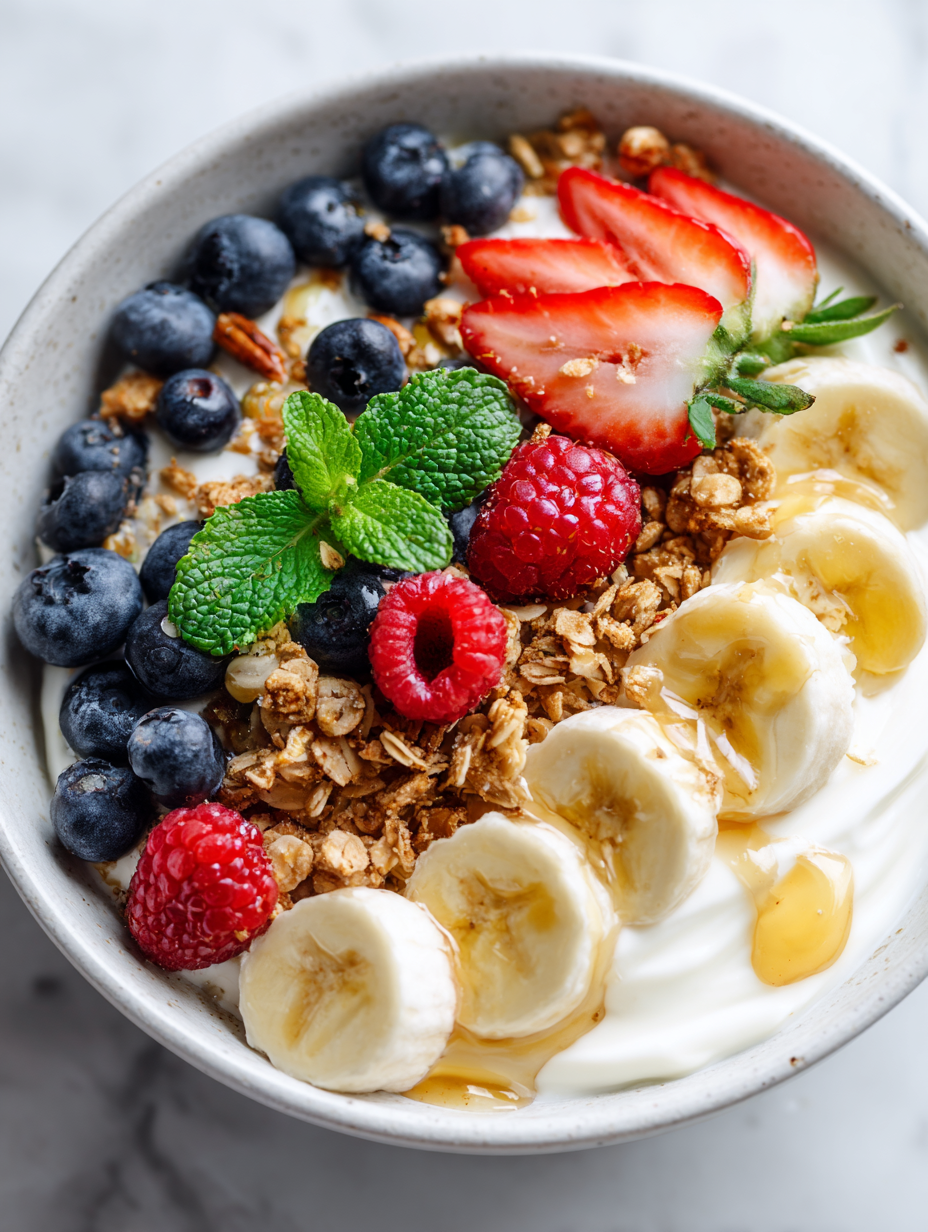
Focusing on the meditative process of layering flavors in a yogurt protein bowl turns an ordinary breakfast into a mindful ritual. It’s about slowing down, selecting each topping with care, and savoring the quiet moments before the day kicks into high gear. This recipe is my antidote to rushed mornings. The act of pouring creamy … Read more